How to Copy a Color Grade to Another Clip in DaVinci Resolve
You've graded one shot in a scene until it finally looks right, and now every other clip from that camera needs the same look. Copying it over sounds like a one-click job, and most of the time it is.
The catch is that a copied grade replaces whatever grade the target clip already had, and Resolve has more ways to move a grade around than most people ever use, from a plain middle-click to memories, appended node graphs, shared nodes and groups. Each one suits a different kind of scene, so the wrong pick either wipes out work you meant to keep or leaves you pasting the same fix over and over.
Here's the quick way first, then the others and when each one is the right call.
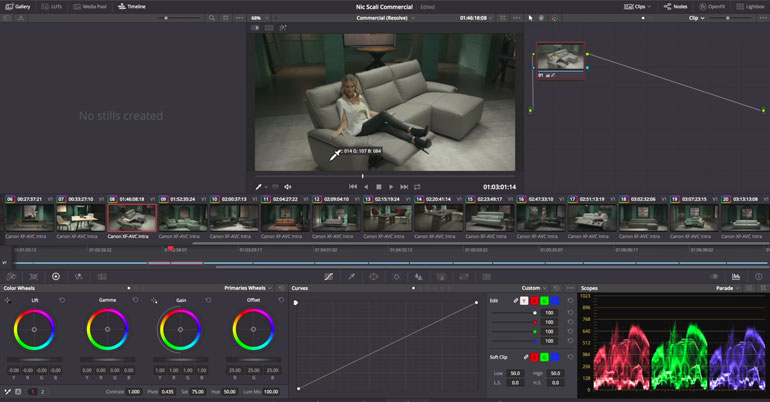
To transfer a look on the Color page, you must select your target clips first before middle-clicking the graded source or gallery still. If your mouse lacks a middle button, right-click the source and choose Apply Grade. Either way the copied grade replaces whatever grade the target already had, which is why Resolve also gives you Append Node Graph, Shared nodes and Groups.
Select the Targets First, Then Middle-Click the Source
When you want to move a look across your timeline, you must select the specific clips that need the new grade before you pick the clip that already has it.
A single selected clip will show an orange highlight, while multiple clips will turn red to show they are all active. You can use Command-click to pick scattered shots or Shift-click to grab a whole range at once. Once your targets are ready, just middle-click the source thumbnail and the grade lands on every selected clip, as the DaVinci Resolve 21 manual describes it.
Without a middle button on the mouse scroll wheel, you can still select target clips and right-click the source clip to choose Apply Grade from the menu. Trackpad users can map a three-finger click using third-party software, or tablet users can map a pen button to do the same trick.
You can also use keyboard shortcuts like Command-C and Command-V (Ctrl-C and Ctrl-V on Windows), but the result depends on where your cursor is sitting. If you click the thumbnail timeline, you copy the whole grade, whereas clicking the node editor only copies the selected node. There is even a preference setting that forces these shortcuts to only work on nodes.
This method is fast, but you have to remember that a copied grade is just a starting point and not a finished match.
Since every clip has its own exposure and white balance, you will still need to do manual trims after the paste to make everything look right together. If you skip this step, your footage might look disconnected because the grade doesn't account for the unique light on each shot. You're betting that the shots are identical, which is rarely the case in a real edit.
The Equals Key and Memories for Back-and-Forth Coverage
When you're working on a shot-reverse-shot scene, using the Equals and Minus keys is the fastest way to keep your look consistent across alternating angles of coverage.
The Equals key copies the grade from exactly one clip prior, while the Minus key pulls the grade from two clips back. Since these scenes cut back and forth between two perspectives, the clip two back is usually the same camera angle as your current shot. This saves you from manually copying and pasting every single time as you move through the timeline.
For more complex scenes, using memories A through H helps you store and recall specific looks with quick keyboard shortcuts. You can save your current grade with Option-1 through 8, and then load that memory onto any selected clips using Command-1 to 8. It makes sense to assign one memory per angle or per interviewee so that everything stays matched throughout the edit.
Saving a new grade over a letter that already holds one overwrites the old one instantly, so be careful.
You can also use the Preview Memory tool to test a specific look before you commit to it on your clip.
Just press Option-Shift-P to see how the memory looks, and then hit it again to jump back to your previous grade if you don't like the result. This prevents you from losing your hard work when you're experimenting with different looks. Using these tools keeps your workflow moving fast when you're under a tight deadline.
Append a Saved Grade Instead of Wiping the One You Have
The standard way to copy a grade overwrites whatever you have built on the target clip, which hurts if you've already built a careful primary grade there. Instead of losing that work, you can use the Append Node Graph feature to add a saved still to the very end of your existing tree.
You can also Command-drag a still directly onto a connection line to add it as a single compound node, which keeps your workspace clean. This lets you treat small saved grades, like a three-node glow, as a toolkit that you can pull onto any shot without fear.
When you only want to bring over specific parts of a look, use Paste Attributes (Option-V) to pick exactly which palettes or OFX settings should move. If you only need one number, like a specific lift offset, Paste Value handles that without touching the rest of the node structure.
For those who need to reuse a look across different projects, PowerGrade albums are shared by every project in a project library. You can even export a still as a .drx file if you need to take that grade to another machine entirely.
Using these tools means you don't have to start from scratch every time you move to a new clip. Layering small saved adjustments on top of a clip's own grade keeps the matching work you've already done.
Shared Nodes and Groups for Changes That Should Ripple
When you need to warm the look of an entire interview, you can right-click a Corrector and choose Save as Shared Node to share that change. This node locks automatically to prevent accidental mistakes, but any edit you make will ripple through every clip that uses that specific node.
You can spread this grade via the Add Node submenu, by copying a grade, or by using Append Node to Selected Clips. If you need to break the link later, just right-click it and choose Convert to Corrector to unlink it.
Groups offer another way to manage broad changes because you can select thumbnails and right-click to choose Add Into New Group. This creates Group Pre-Clip and Group Post-Clip node trees that ripple across every clip in the set. The processing order goes from Group Pre-Clip, then Clip, then Group Post-Clip, and finally Timeline.
You should use Pre-Clip for normalizing log footage or applying a base grade, while the Post-Clip tree handles the creative look of the scene.
Using these tools means you don't have to repeat the same task for every single shot in your timeline. If you put a LUT or CST per camera in a Shared node or Pre-Clip, you keep your footage consistent without manual labor. That leaves the Clip level free for matching one shot to the next.
Is a Grading Panel Worth It for This Kind of Work
While a physical panel does not actually speed up the act of copying a grade between clips, the trackballs help you make the fine trims needed after you have pasted a look onto a new shot.
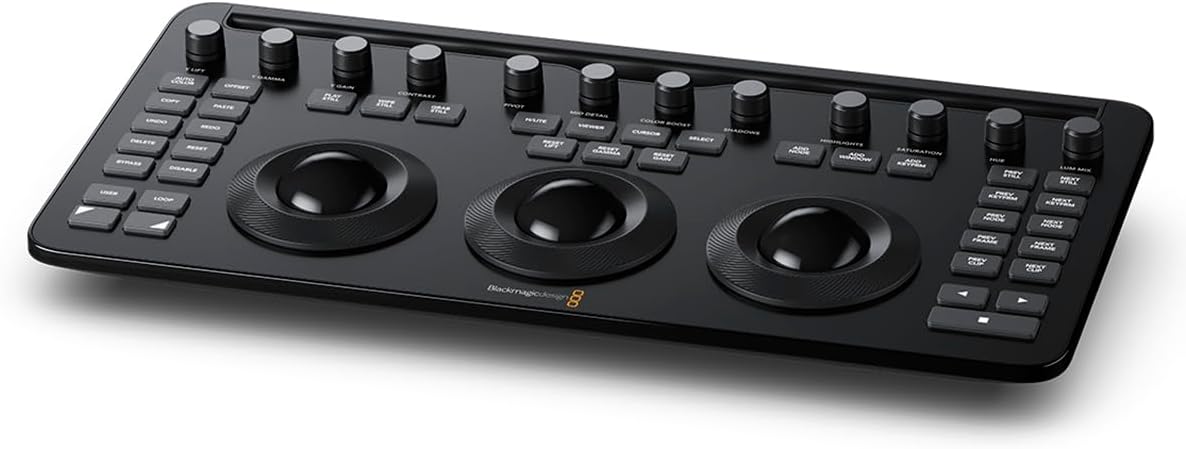
An owner returned their Micro Color Panel because it didn't unlock any hidden features and the buttons felt like a regular keyboard. Another says the build feels a bit cheap and the buttons can't be reprogrammed, yet grading got faster and more fun with the trackballs.
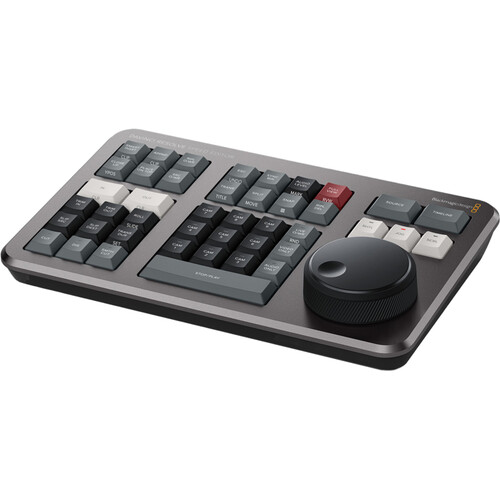
The Speed Editor bundle is a great deal if you need the Studio activation card, but it is an editing keyboard for the Cut and Edit pages rather than a dedicated tool for grading.
I think people who want to move through timelines quickly should grab that, while those who want to dive deep into color might look elsewhere. The Micro Color Panel lacks the big screens and custom buttons found on the larger panels, which is a downside if you want total control.
Your wrists might find relief from trackballs during hours of shot matching, even if these tools don't help with the initial copy command.
I'd buy a panel for the feel of grading with your hands, not to copy grades faster, and I wouldn't recommend it to someone who only grades the odd clip. If you're still choosing the software, our DaVinci Resolve review covers free versus Studio, and our guide to DaVinci Resolve color grading presets covers LUTs and PowerGrades.
A grading monitor you can trust matters more than either, and Blackmagic's own free training books walk through the whole Color page in order.
Frequently Asked Questions
Why does my existing grade disappear when I paste another?
When you paste a grade onto a clip, the software overwrites any existing nodes unless you specifically choose to append the graph instead. You can avoid this by right-clicking the still and choosing Append Node Graph to keep your work.
How do I copy color without changing the image scaling?
To transfer only color data without affecting sizing, set the All/Color/Sizing option to Color, under Mark > Keyframe Timeline Mode or in the drop-down at the top right of the Keyframes Editor. The target clip then keeps its own Input Sizing.
Why are my keyframes and tracking not moving after copying?
Copying grades between individual clips doesn't carry keyframes or motion tracking, per the Resolve manual. Copy the individual node to move tracking, set the Gallery's Apply Grades Using option for keyframes, or use Apply Grade > Align Keyframes to Current Frame from a still.
Can I move a grade to a completely different project?
You can share looks across projects by saving them in a PowerGrade album or by exporting the still as a .drx file. PowerGrade albums are shared by every project in the same project library.
What is the shortcut to grab the grade from the previous clip?
The Equals key applies the grade from one clip prior, while the Minus key grabs the grade from two clips back. These shortcuts are perfect for matching shot-reverse-shot sequences quickly.