
DaVinci Resolve Color Grading Presets: LUTs, PowerGrades and Film Looks
By the time a project reaches color, most of us are tired, and a preset that makes everything look finished in one click is very tempting. We've leaned on a quick LUT or a film look plenty of times ourselves, for exactly that reason.
The catch is that Resolve has several kinds of preset, and they behave very differently. Here's how LUTs, saved grades and film looks differ, how to install each one, why a preset can look wrong on your footage, and what the Studio-only Film Look Creator adds.
DaVinci Resolve doesn't offer a single preset button, but it provides LUTs, saved PowerGrades, and Film Look Creator presets which all function quite differently within the software environment. Since these tools only work on footage they were specifically built for, you must normalize your clips first and apply the look at a low strength. The free version includes LUTs and PowerGrades, while the Film Look Creator requires the Studio version.
LUTs, PowerGrades and Film Look Presets Are Not the Same Thing
A LUT is just a file that changes color values, so it can't carry your windows, keys, noise reduction, or grain for your shot.
When you save a PowerGrade or a Gallery still, you save the whole node tree as a .drx file, which means it keeps every effect and adjustment you built. PowerGrade albums are shared across every project in your library, so your specific look follows you when you start something new. I reach for PowerGrades when I need a consistent look across a whole show.
The Film Look Creator is a Studio-only effect that provides a base Blackmagic film look plus over sixty fixed parameters while adding things like halation, grain, and gate weave. It has its own presets menu with options like Clean Slate or Default No Effects, so you can toggle the heavy lifting quickly without losing work. This tool works best on video that fills the frame, but it relies on scene-referred workflows to look its best.
I'd pick this tool when I want a specific cinematic texture that feels baked into the image.
Applying a saved grade from the gallery will overwrite your current work unless you choose to append the node graph to the end of your tree. Dragging a LUT onto a node is different: it only replaces a LUT already sitting on that node.
Installing LUTs and Importing Saved Grades
To get your custom files into the software, drop them into Library/Application Support/Blackmagic Design/DaVinci Resolve/LUT/ on a Mac or C:\ProgramData\Blackmagic Design\DaVinci Resolve\Support\LUT on Windows. If you use the Mac App Store version, the Open LUT Folder button in Project Settings takes you to the right place.
Once you've copied the files, click Update Lists, or right-click in the LUT Browser and choose Refresh, so they appear. You can also add extra LUT paths in System Preferences, including a network share.
Once the files appear, you can apply them by right-clicking and choosing Apply LUT to Current Node or by simply dragging the file onto a node. If you drop a new LUT onto a node that already has one, the software will replace the old one automatically.
You can even see a thumbnail of the look on your own footage by right-clicking and choosing Update Thumbnail With Timeline Frame. While timeline-wide LUTs live in the project settings, per-clip grades usually belong on individual nodes for better control.
For more complex looks, you can right-click the gallery background to import image files that have a matching .drx grade file. Import With Output LUT brings in a matching LUT file along with the image and grade.
Why a Preset Looks Wrong on Your Footage
A creative preset is built for a specific input like Rec.709 or one camera's log, so applying it to footage in a different state makes the image look too contrasty or shifts the colors. That's why a preset that looks great in a demo can fail on your clips.
Back in 2018 we wrote that we often did a quick basic grade or used a LUT and moved on, but paid jobs on weak footage are where that fast approach finally runs out.
To avoid a mess, you must normalize the clip first using a Color Space Transform or a conversion LUT before you balance and match shots or add a creative look.
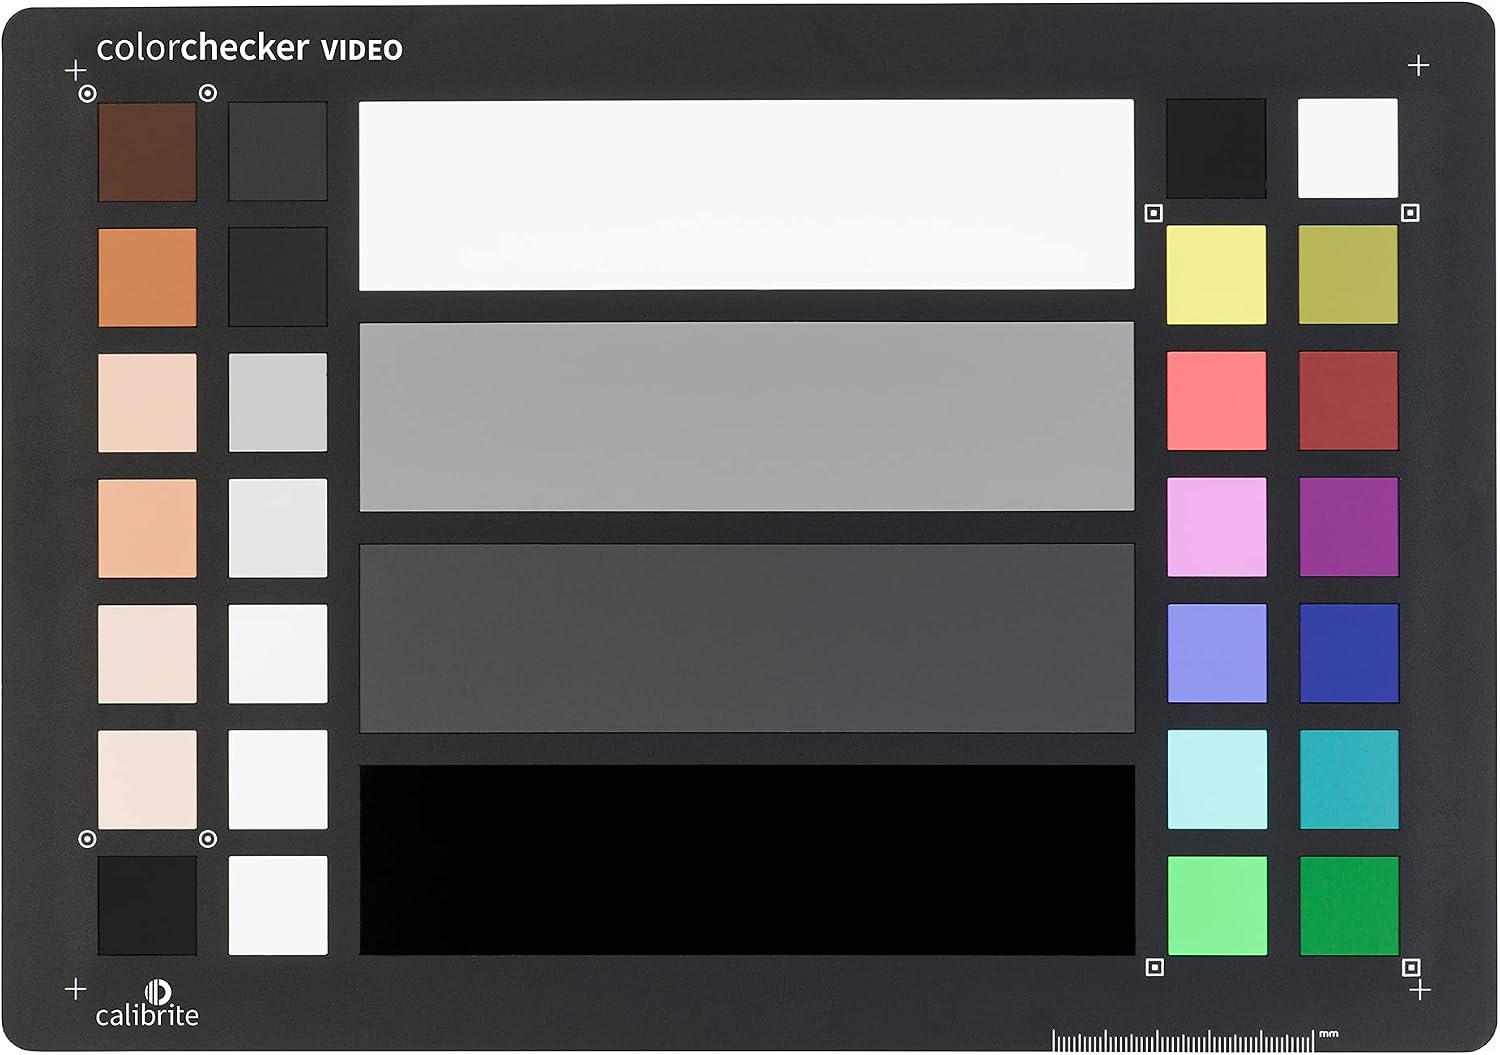
You can get a neutral starting point by using the Color Match palette with tools like the Calibrite ColorChecker Video chart. Once the footage is ready, apply the look last at a reduced strength by using the Key Output Gain to scale the node's influence down.
The Film Look Creator in Studio
Because this effect is locked inside the Studio version, you can get it by buying an activation card at B&H or by grabbing the Speed Editor bundle which comes with one.
It works as a scene-referred tool when you use Resolve Color Management or ACES, but you must use Color Space Overrides if you work with a display-referred YRGB timeline. This effect performs best on video that fills the full frame since it uses over sixty fixed parameters to mimic a motion picture film look.
You can adjust exposure, contrast, highlights, and skin bias while also tweaking split tone, halation, bloom, grain, vignette, gate weave, and flicker to shape the image. If you need to move your work to another app, the 3D LUT compatible checkbox strips away the spatial effects so you can export a clean LUT.
We think this internal tool might replace the need for paid film emulation packs because it gives you so much control in one place.
The tool includes a presets menu with Clean Slate to skip the base look or Default No Effects to apply the look with all the extra effects turned off. Since it creates a base Blackmagic look rather than mimicking a specific film stock, it offers a versatile starting point for any project.
Frequently Asked Questions
Does DaVinci Resolve have built-in color presets?
Resolve installs a set of factory LUTs, the Film Look Creator has presets in the Studio version, and you can build your own PowerGrades. These tools offer various ways to apply specific looks to your footage quickly.
Where do I put my custom LUT files?
Put them in Resolve's LUT folder for your system, which the Open LUT Folder button in Project Settings opens. After copying, click Update Lists so the files appear.
What is the difference between a LUT and a PowerGrade?
A LUT only changes color values, whereas a PowerGrade carries an entire node tree which includes windows and noise reduction. This distinction allows you to manage much more complex grading structures across multiple clips.
Are there any free preset options for grading?
You can use camera makers' conversion LUTs or build your own PowerGrades within the free version of the software. These options provide a solid foundation for color correction without needing the Studio license.
Why does my LUT look too strong or unnatural?
This usually happens because you didn't normalize the input footage before applying the creative look to the clip. You can also reduce the node's Key Output Gain to dial back the effect's strength.
Can I use a Film Look Creator look in another app or camera?
Yes, with a limit. Tick the 3D LUT Compatible box and the effect drops the spatial effects like halation and grain, so the color part of the look can be exported as a LUT for other software or a camera monitor.
Where can I learn Resolve color grading for free?
Blackmagic publishes free official training books for DaVinci Resolve, and the reference manual's chapters on LUTs and the Gallery cover everything in this guide.