
Blackmagic Pocket Cinema Camera LUTs: Loading, Embedding and Baking In
LUTs on a Blackmagic Pocket camera cause more confusion than they should. Some people load one and think the look is now part of the footage, others can't get the file to import at all, and the menus don't make the difference between previewing a look and recording it obvious.
The answer depends on what you record and why you want the LUT in the first place. Here's what a LUT does on this camera, how to load one, when it gets baked into the file, and how it carries into Resolve.
On the Pocket 4K and 6K, a LUT functions only as a monitoring preview unless you choose to bake it in, while Blackmagic RAW can carry it inside the file so you can toggle it off in Resolve. Using the ProRes record LUT option bakes the look in for good. Most imports fail because the file size is wrong or the folder is incorrect.
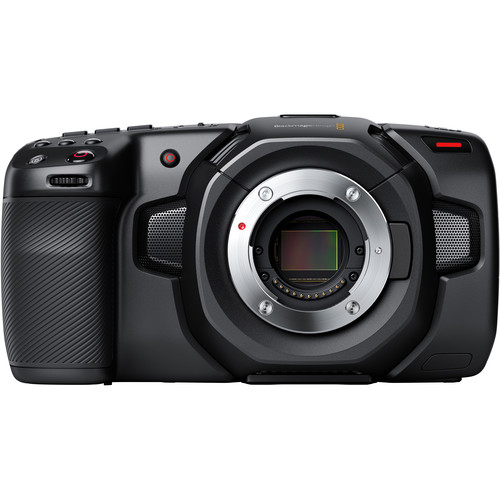
What a LUT Does on the Pocket Camera
Because the camera captures footage in a flat Blackmagic RAW format with a huge dynamic range, you need a way to see how the final image might actually look after you finish the color grade. These 3D LUTs tell the screen how to map colors and brightness levels so you can monitor a graded preview on the LCD or HDMI while you shoot.
The Gen 5 color science comes with several built-in options like Film to Video, which matches broadcast Rec 709 standards, or specific presets for Rec 2020 HLG and PQ HDR workflows. We think Extended Video is the best choice for everyday monitoring because it offers a wider range with mild contrast and smooth highlight roll-off.
You must be careful when you expose your shots through a very contrasty LUT because it can hide detail that is still present in the file. If the screen looks too dark or blown out, you might accidentally clip shadows or lose highlight information that you can't recover later. Always check your exposure meters to make sure you aren't being fooled by a high-contrast preview.
Loading a LUT Step by Step
To get your custom looks onto the camera, you must place your .cube files in the root directory of your card or inside a folder named 3DLUTs, because the system ignores anything placed elsewhere.
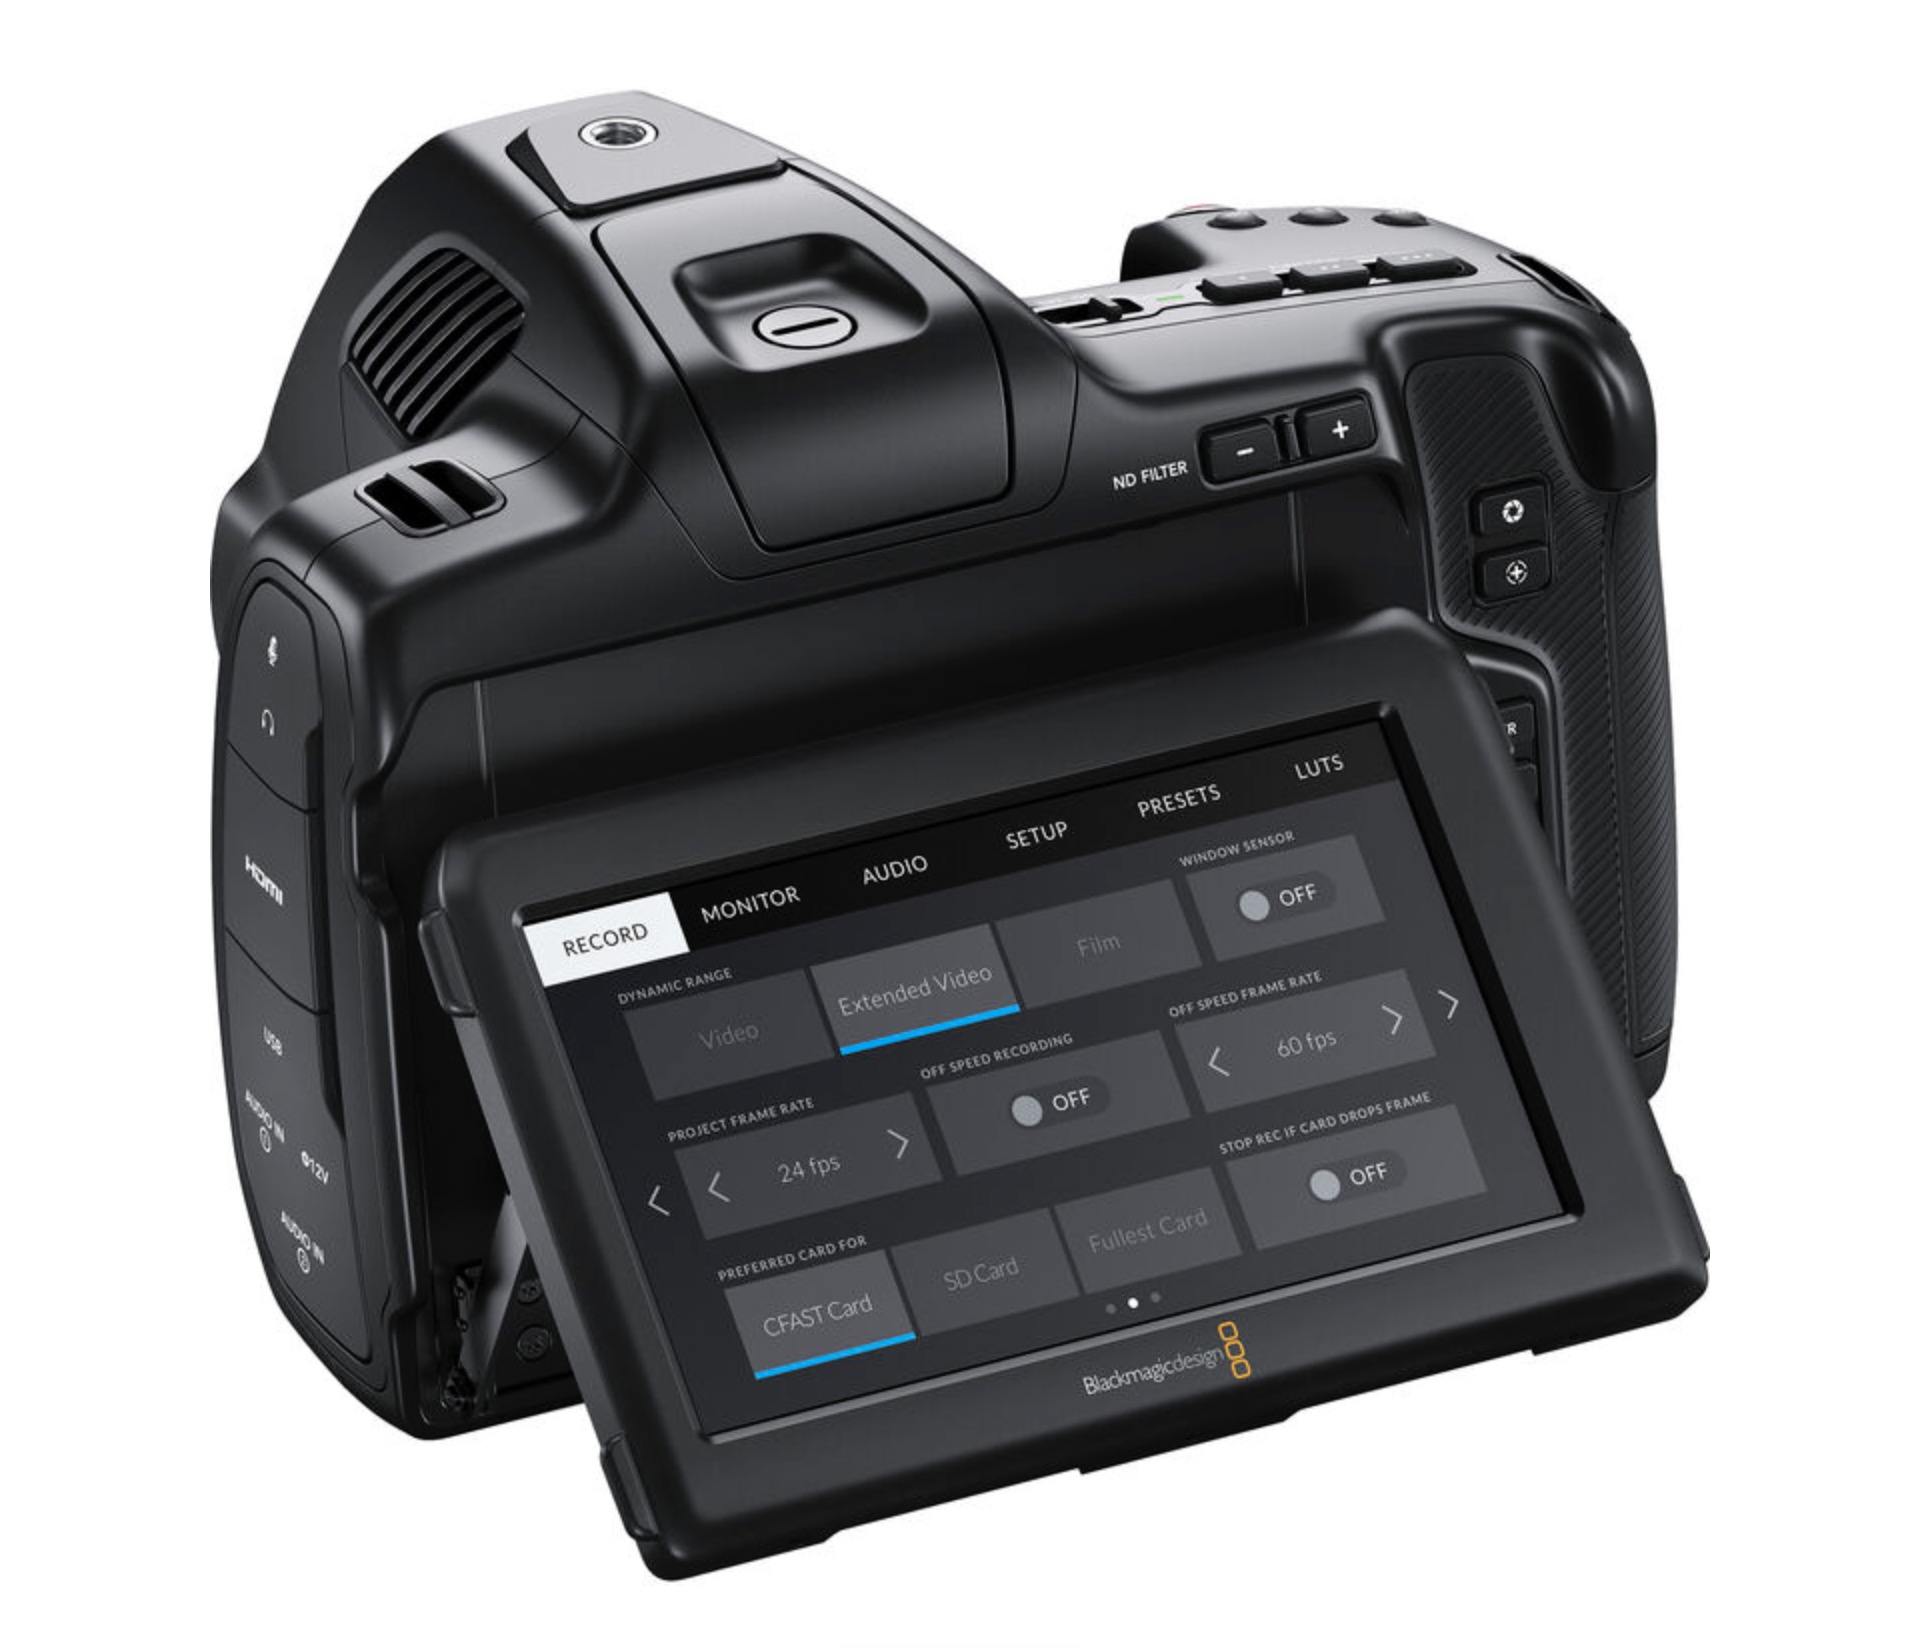
Once the files are ready, navigate to the LUTs menu, tap manage, and select import to browse your USB-C disk, CFast, or SD card. If all ten slots are already full, you have to delete one to make room for the new entry. If a file shares a name, the camera asks if you want to overwrite the old one or keep both.
When a file fails to import, open it in a text editor and check the LUT_3D_SIZE, and if it isn't 17 or 33 points, a tool like Lattice can resize it.
After a successful import, you select the file, tap load, and then toggle display LUT in the Monitor menu to see the effect on your specific output. You can turn this setting on or off for each screen independently, which helps you compare the flat image to the graded look. Exporting a LUT will write the file back to a 3DLUTs folder on your media for later use.
The LUT menu doubles as a check on a new camera: an owner knew their "new" Pocket 4K had been used because a LUT was already installed and the firmware updated.
Using these tools allows you to see how the final video will look without losing the data that stays in the RAW file. It makes it much easier to make good exposure decisions while you are out in the field.
Embedded in BRAW, Baked Into ProRes
When you shoot in Blackmagic RAW, the camera doesn't bake the LUT into your footage by default, but it saves the name as metadata so DaVinci Resolve can see which one you used. This means you keep all the flexibility of the RAW file while still seeing a finished look on your screen.
With the 'apply LUT in file' switch on, the LUT stays in the header of the .braw file so the clip opens with it applied in Blackmagic RAW Player and DaVinci Resolve. A colorist can still turn it off in the RAW palette, because the LUT always travels with the file.
In ProRes, the 'record LUT to clip' option bakes the look into the pixels permanently, so you can't change it later. This is a smart move if you have no time to grade the footage or if the clips go straight to a client.
The trade-off is that you lose the flexibility of the BRAW format since the colors are now locked in. You're betting that your look is perfect before you even hit record.
Choosing between these two paths depends on how you plan to handle the footage after the shoot is over. I'd stick with BRAW if I want to tweak the grade later, because losing that data is a real pain. But if you're in a rush and need to deliver files fast, baking the LUT into ProRes gets finished-looking files out fastest.
Using Camera LUTs and Creative LUTs in Resolve
When you bring your footage into DaVinci Resolve, your custom LUTs live in Library/Application Support/Blackmagic Design/DaVinci Resolve/LUT/ on a Mac or C:\ProgramData\Blackmagic Design\DaVinci Resolve\Support\LUT on Windows.
You can simply drag a file onto a node or right-click it in the LUT Browser to apply it to the current node while working. If you drop a new LUT on that same node, it replaces the old one so you can test different looks without cluttering your timeline.
Put your conversion LUT on the first node before any creative packs because most packs are built for Rec.709 or a specific log curve. If you apply a creative look straight to log footage, the colors will land too contrasty or off-color because the math doesn't match. You can use the Color Match palette with a ColorChecker Video chart to get a neutral start before you add any style.
Blackmagic RAW keeps white balance and ISO adjustable later, so a viewing LUT costs you nothing, while a LUT baked into ProRes can't be undone. The camera manual's 3D LUTs section covers every setting mentioned here.
Frequently Asked Questions
What LUT format does the Pocket 4K use?
The camera accepts .cube files that are either 17 or 33 point versions, provided each file stays under the 1.5 megabyte limit to be recognized properly. You can store up to ten of these files in internal slots for quick access.
Why won't my LUT show up?
You must ensure the file is located in the root directory or a specific folder named 3DLUTs on your memory card or flash disk. Check the LUT_3D_SIZE value in a text editor to confirm it matches the supported camera sizes.
Does the camera bake the LUT in?
By default, the camera doesn't bake the LUT into footage, but in ProRes the record LUT to clip option bakes it into the video permanently. Blackmagic RAW embeds the LUT in the header so you can toggle it off during editing.
How do I turn off an embedded LUT in Resolve?
To disable an embedded LUT within DaVinci Resolve, navigate to the RAW palette and toggle the Apply LUT switch to the off position. This allows you to see the original data without the color transformation applied previously.
What is the best everyday monitoring LUT?
We think the Gen 5 Film to Extended Video LUT is best because it provides a wider range with smooth highlight roll-off for monitoring. It still shows a natural image without the heavy contrast that can fool your exposure.