Documentary Audio Setup: Microphones and Recorders for Field Work
Bad audio can ruin a documentary quicker than poor video. Audiences will tolerate handheld camera shake and low lighting as long as they find the story interesting, but poor quality dialogue, wind noise and mic rumbles will cause audiences to quit watching within the first minute.
Field audio is one area of documentary production that makes all the difference in whether it comes together or falls apart, and the great news is you don't have to break the bank to get an effective field audio kit.
This is a rundown of the gear that actually works: portable field recording devices that hold up in the field, shotguns that deliver clear dialogue and ambient sound, lavs for seated interview subjects, and wireless systems when you want to allow your subject to roam. This equipment list is designed for the single shooter and small crew making documentaries on a limited budget.
Portable Recorders: The Foundation of Your Field Kit
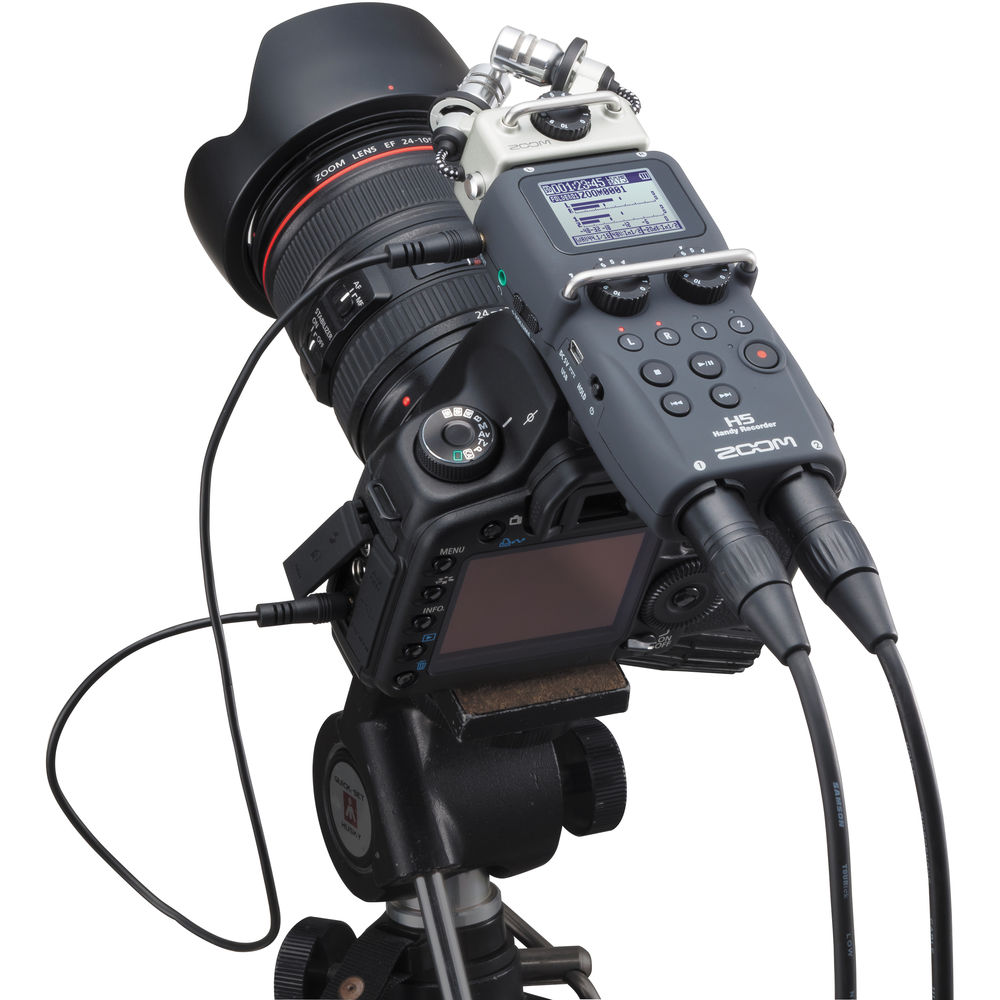
A portable recorder is the hub of a documentary audio setup. This is where everything connects: your boom microphone, your lavalier microphones, your wireless receivers. The quality of the preamps determines the noise floor you're working with on every single clip.
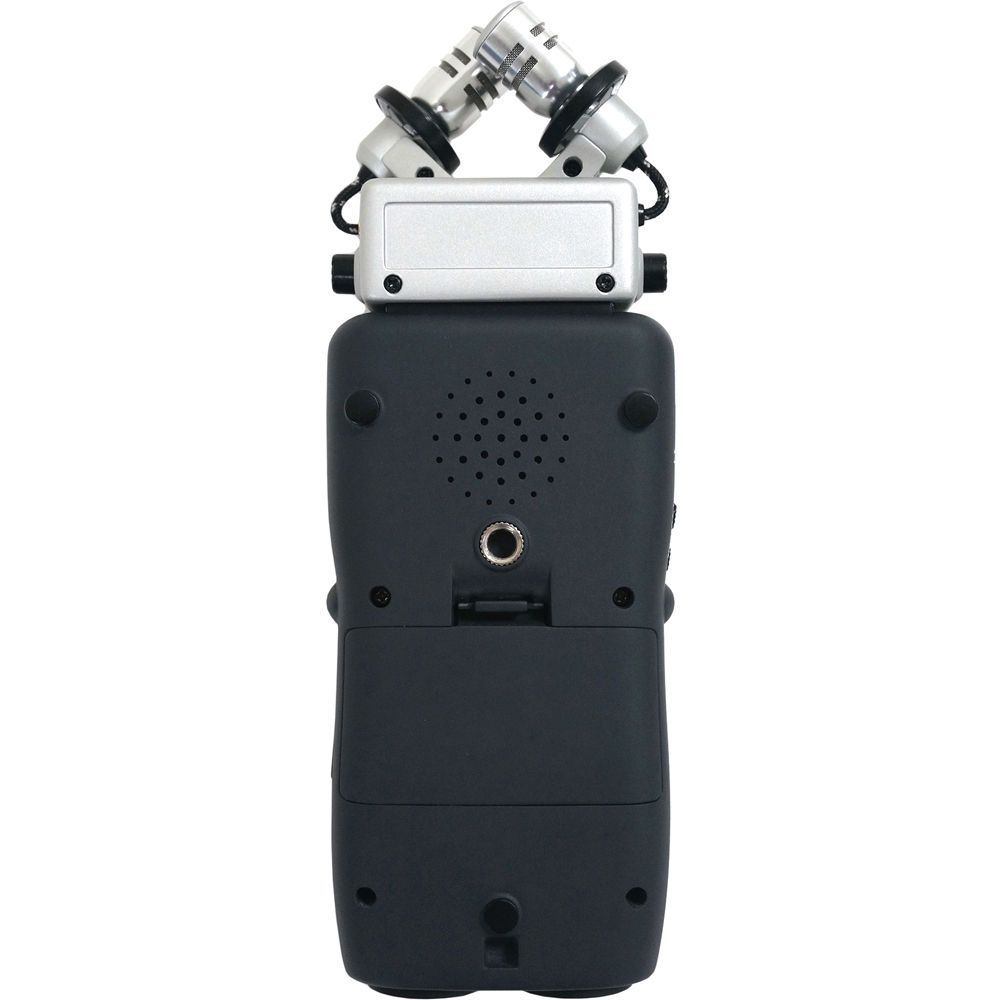
In terms of value, there is no better portable recorder than the Zoom H5. The H5 has two XLR inputs which provide 48V phantom power, an internal X-Y style stereo microphone that may be swapped out for different configurations, and clean preamps that do not generate excessive noise until you reach extremely high gain levels.
The body is durable enough for real field use and the battery life holds up through a typical shooting day. The controls are physical, so you can adjust gain levels by feel without looking at a screen.
For most solo documentary filmmakers, two XLR inputs is enough: one for a boom mic and one for a lavalier or wireless receiver. If you regularly run three or more audio sources simultaneously, the Zoom H6 steps up to four XLR inputs with the same build quality and durability. For most one-person crews, the Zoom H5 covers it.
The biggest practical issue with field recorders is gain structure. Set your input gain too high and you get noise. Too low and you lose dynamics. Enable the limiter on your Zoom H5 during unpredictable interview situations to catch sudden volume spikes, though the limiter will alter the audio slightly.
The Zoom H5 is also available at B&H for comparison shopping.
Shotgun Mics: Getting Clean Dialogue on a Boom
A shotgun mic on a boom pole captures dialogue and ambient sound in a way that's invisible to the camera. The microphone goes above or below the frame, pointed at the subject, and you get audio that represents the actual source rather than the room.
The Rode NTG4+ is a smart choice for documentary work. It's a supercardioid condenser that uses its internal battery when phantom power is unavailable, which is helpful since many cameras don't have reliable phantom power output for direct pull-in. The frequency response is balanced without too much low-end boom, which means less post-production EQ work to position dialogue in a mix.
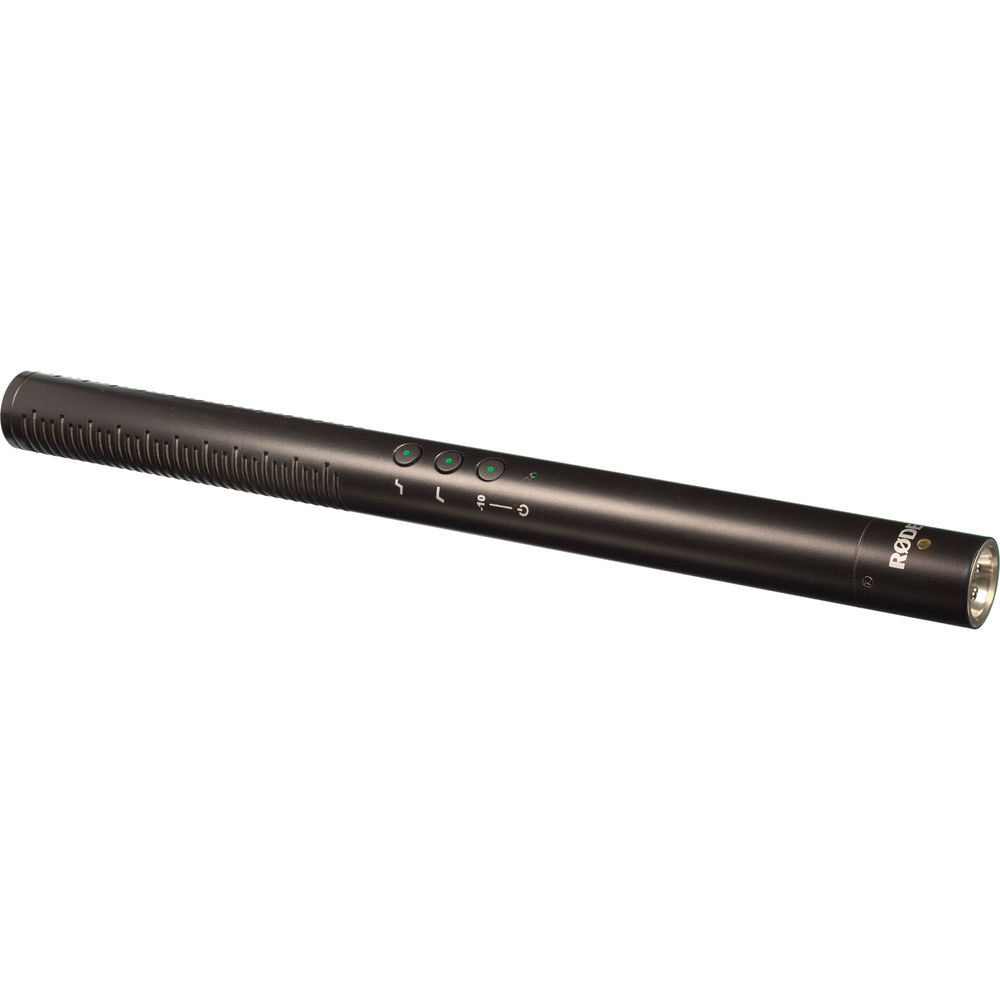
Placement of the shotgun mic matters a lot. The goal is to get the mic as close to the speaker as possible while staying out of frame, which usually means tight boom operating. Getting within 18-24 inches with a supercardioid pattern dramatically reduces room ambience and background noise compared to booming from a distance. Technique matters more than which specific shotgun you're using within the same price range.
A couple of practical notes when shooting in the field with the NTG4+: it's sensitive enough to pick up significant wind in moderate breezes, so some form of blimp-style wind protection is essential for outdoor work. The foam windscreen included with the NTG4+ handles indoor and light wind applications. For anything more than that, a Rycote or Cinela blimp adds cost but eliminates one of the most common field audio problems.
Lavalier Mics: The Interview Standard
Lavalier microphones (lavs, clip-ons, body mics) are the standard for documentary interviews. They clip to the subject's collar or shirt and stay in place throughout the conversation without requiring a boom operator to follow their movements.
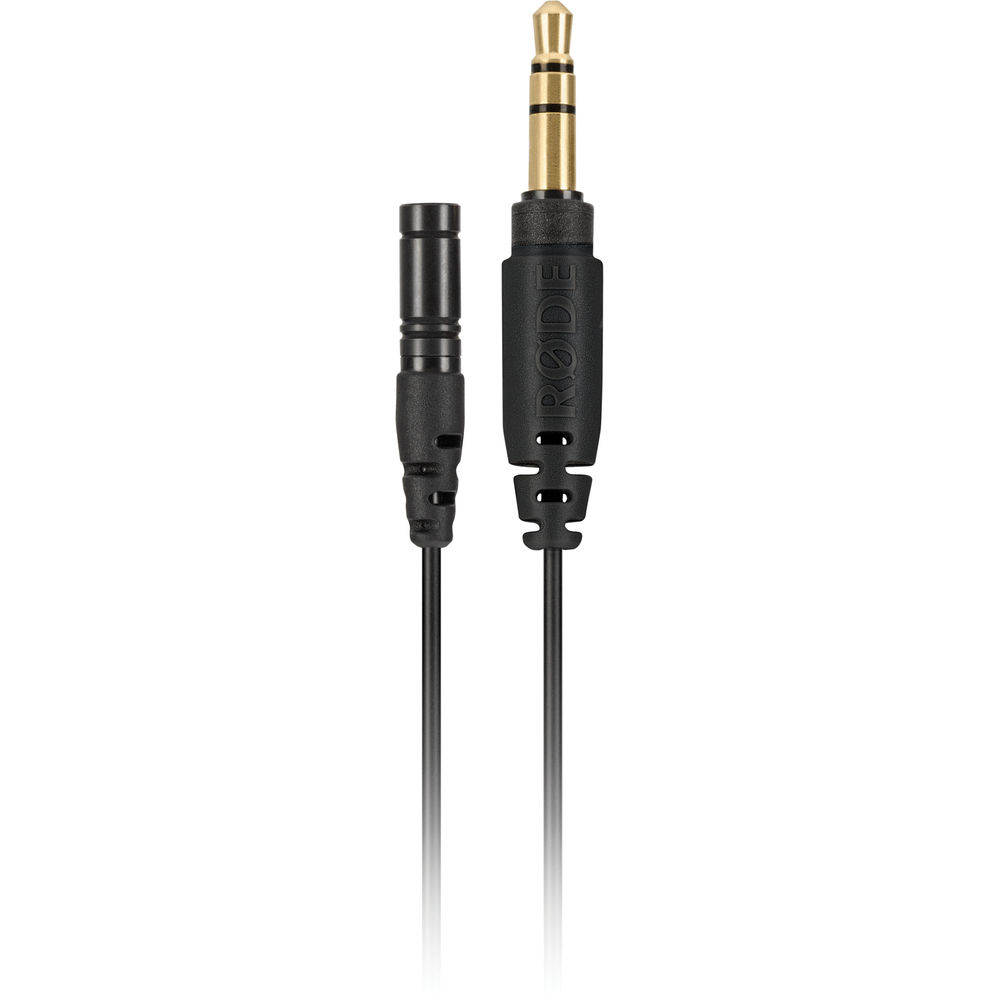
The Rode Lavalier GO is a well-rounded choice here. It's an omnidirectional condenser that can connect directly to a smartphone for run-and-gun interviews, or plug into a recorder or wireless transmitter for more controlled situations. The compact size makes it easy to carry, and the omnidirectional capsule pattern means you can get usable audio even if placement is not perfectly precise.
Mounting a lavalier for documentary interviews has its own requirements. The best recordings come from having the capsule exposed to open air, but subjects move around and clothing rustles during long conversations. Mounting under fabric sometimes requires fabric-tape work to isolate the capsule from shirt movement, and that technique takes time and patience to get right.
Lavs are not a set-it-and-forget-it solution. They require attention at the start of each interview and periodic monitoring throughout.
Wireless Systems: When You Need to Let the Subject Move
For observational documentary work where your subject is moving through a space, a wireless lavalier system is often the only way to capture usable audio. Wired lavs are out of the question, and following someone with a boom through tight spaces or across distance is often impractical.
The Rode Wireless GO III is a solid option for documentary wireless. The transmitter is small enough that subjects don't register it, the built-in recording capability means you have a backup if the receiver signal drops, and the operating range handles most interior and controlled exterior situations. Pairing it with the Rode Lavalier GO gives you a complete wireless lavalier system with compatible gear from the same ecosystem.
Consumer-grade wireless systems work well for most documentary interview situations, but they can struggle with RF interference in crowded environments. Large events, urban areas, and venues with active WiFi can create interference problems that professional frequency-agile systems handle and budget systems don't. For most interview situations and smaller locations, the Wireless GO III performs reliably.
For a more detailed look at how wireless systems work in a live context, the DJI Mic 2 review covers a competing system with a different approach to wireless audio for documentary and event work.
Building a Budget Documentary Audio Kit
When assembling a documentary audio kit for the first time, order of operations matters. You don't need to buy everything at once.
Start with a portable recorder and a single shotgun mic. Those two pieces handle most documentary situations: interviews with the mic on a small tabletop stand or boom arm, and ambient recording in the field. Get comfortable with your gain structure and monitoring workflow before adding more components.
Add lavaliers when you find yourself frequently doing interview work that requires a subject-worn mic. Then add wireless when your work requires untethered movement.
One major cost factor that doesn't get enough attention is monitoring. You can't mix what you can't clearly hear. Poor monitoring in the field creates problems that show up in post when there's nothing you can do about them.
A pair of closed-back headphones that seal out ambient noise is just as important as your microphones. See the guide on audio mixer for live streaming for more on how monitoring fits into an audio workflow, including headphone recommendations that apply to both live work and field recording.
Frequently Asked Questions
What portable recorder is best for documentary filmmaking?
The Zoom H5 is the standard recommendation for solo documentary shooters and small crews. Two XLR inputs with phantom power, clean preamps, and a rugged build that holds up in the field. The Zoom H6 is a logical step up if you need four XLR inputs. Both are widely used in professional documentary production.
Do I need both a shotgun mic and a lavalier?
You don't have to buy both at first. Most documentary needs are met by placing a shotgun mic on a boom. Lavaliers become useful when conducting long sit-down interviews where boom operation becomes impractical, or when you want a backup audio source in case the boom is compromised. Many documentary shooters run both simultaneously for critical interviews.
How do I reduce wind noise on a shotgun mic outdoors?
The foam windscreen that ships with most shotgun mics handles very light wind and nothing more. For outdoor work with actual wind movement, you need a blimp-style windscreen from Rycote or Cinela. These consist of a suspension mount inside a hollow plastic shell covered in fur fabric. The suspension isolates the mic from handling noise and the fur disrupts wind turbulence before it reaches the capsule.
Can I use a wireless lav system for documentary interviews?
Yes, and it's often the cleaner solution for interviews where you want the subject to feel comfortable and move naturally. The main considerations are making sure the system handles RF interference in your shooting environment and that you know how to mount the lav transmitter discreetly on your subject's clothing.
What headphones should I use for field monitoring?
Closed-back headphones that provide passive isolation from ambient noise are the right choice for field monitoring. The Sony MDR-7506 is the most widely used option in production. It's accurate, durable, and the coiled cable length is practical for field work. The Audio-Technica ATH-M50x is another standard option with a slightly different sound profile that some mixers prefer.
How many audio tracks should I record on a documentary shoot?
Record as many as you have sources for. At minimum, run your boom mic and your lavalier on separate tracks. Do not mix them together in-camera. Keeping them separate gives you flexibility in post to use whichever source is cleanest for any given moment, or blend them.
If your recorder supports it, run a safety track at a lower input level to catch unexpected peaks.