How to Make Flexible LED Panels (DIY Flex Lights)
There is something irresistible about watching How To videos. They make elaborate projects look completely possible, even for people like you and me, while you're sitting in bed, eating Fritos in your studio apartment.
It's different than reading or even hearing about a project. With the video, you can see it with your own eyes! It's so easy and it only takes a few minutes. Just watch and see.

The problem is the details. They're boring, overly technical, never straightforward, and completely unnecessary for viewers who mostly just watch to feel inspired (and maybe buy that gadget that seems necessary for the project).
But when you take the plunge to actually follow along and put the Do It Yourself in DIY, you very quickly get lost in between the steps, searching for the missing details.
DIY Flexible LED Lights
A few months ago we came across this video that promised us everything we had ever dreamed about. Bright LED lights, using very cheap (but good enough quality) LED light strips, on a flexible support frame.
Matt, the charming young British host, is incredibly good at making it seem easy for people like you and me. If his DIY Perks channel doesn't make him incredibly successful, eventually a TV network will. He's that good.
After watching the video a few times, late at night presumably, we here at Digital Filmmaker got the DIY bug. We started to do the math, and dream big.
Just think: we can make one of these - no two...no three! - for like $60. The real thing - the Westcott Flex Daylight Mat - goes for a lot more. And if you want the big 2'x2' version, that's a couple grand.
But here we could make a few of them for a couple hundo! We could make them for our video production friends, and use them in all sorts of applications. People will love and adore us!
Isn't that the same feeling you get when you watch a cooking show? Perhaps one that shows you how to make delicious, homemade bagels that your family, friends and neighbors will find irresistable? Can you imagine a lot of people smiling and high fiving you?

Anyway, we immediately set out to make this light. In the process, we learned a lot. This article intends to provide you some of the missing details - the stuff you need, the steps to watch out for, and some more stuff you didn't realize you needed.
How did it turn out? You can skip to the end to find out, if you'd like. But we think you can probably guess how it turned out.
LED Lights: What You Need
Here are the main items that the video recommends you get, to follow along with the specific instructions.
led light strips
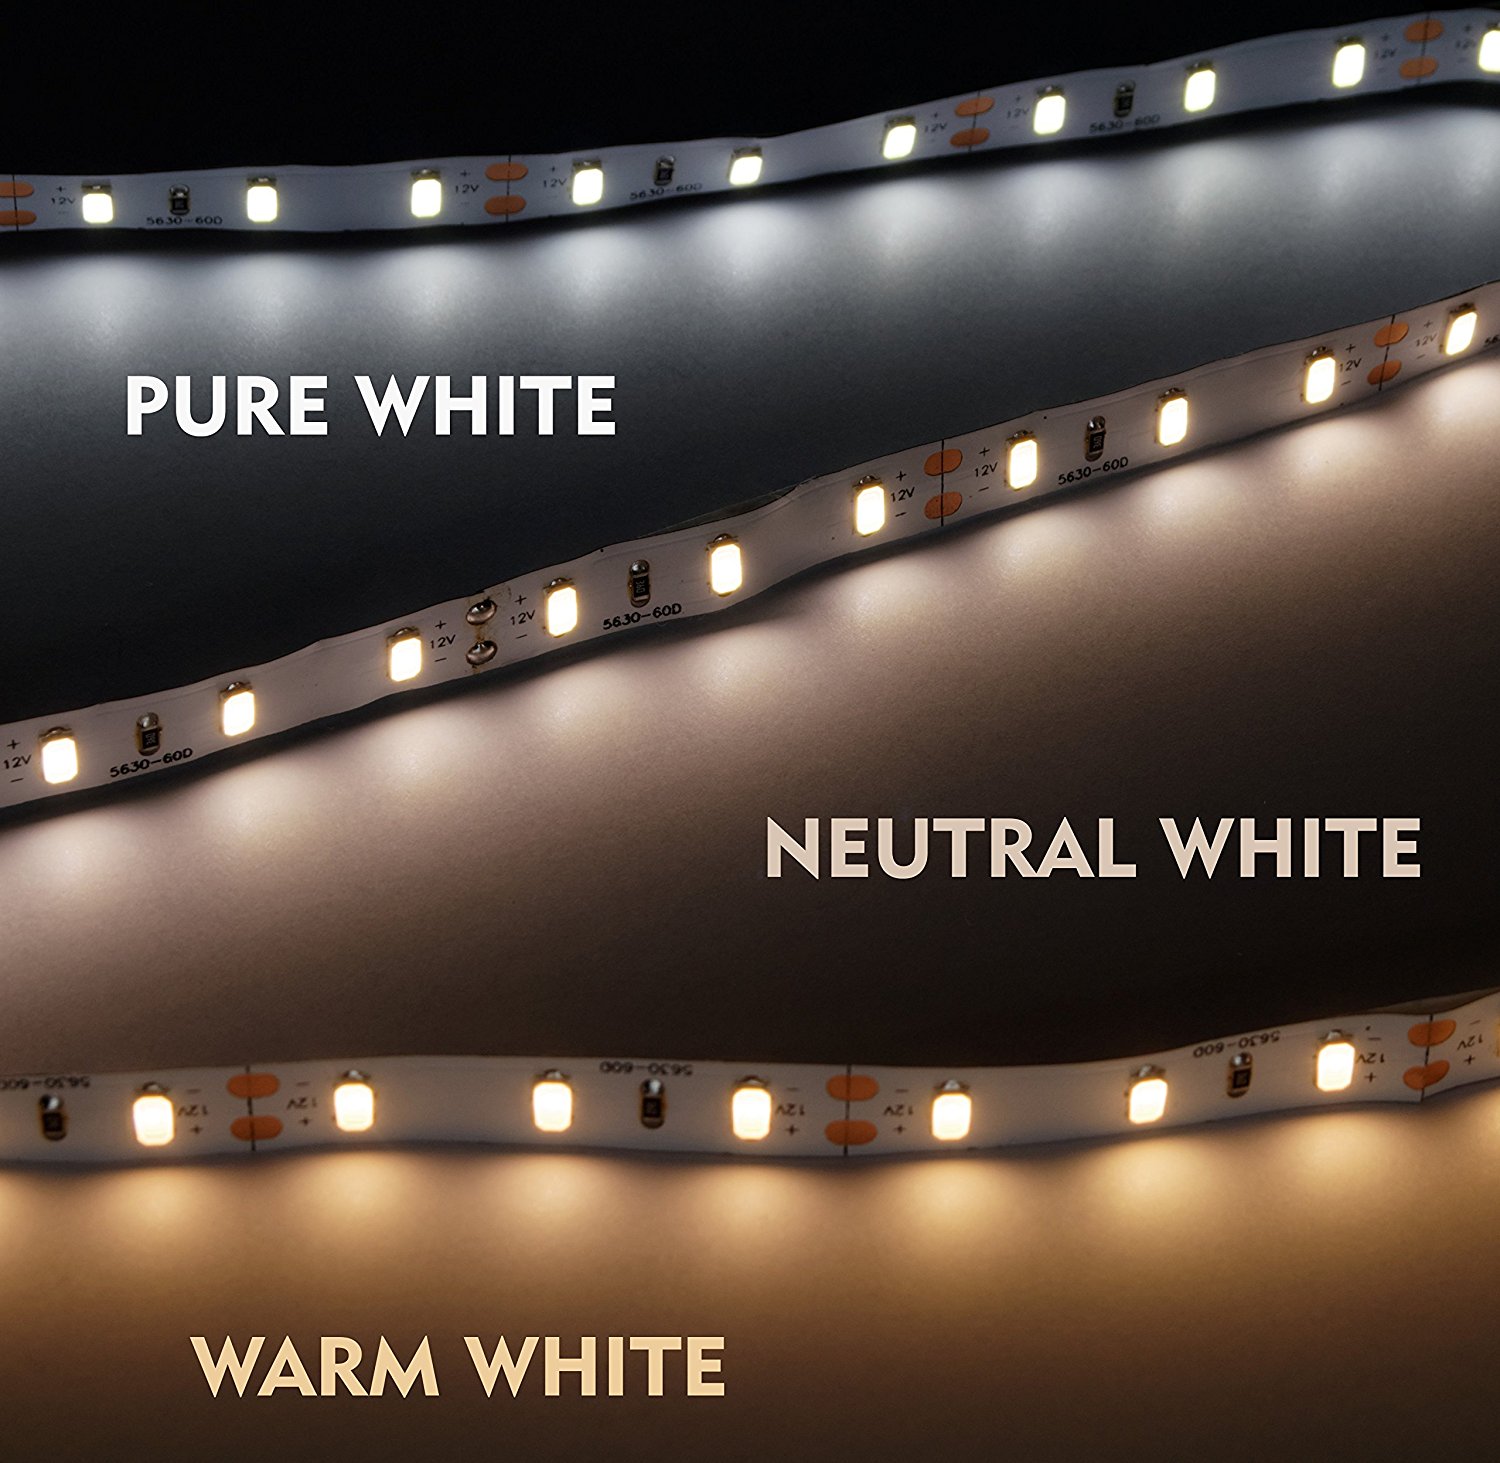
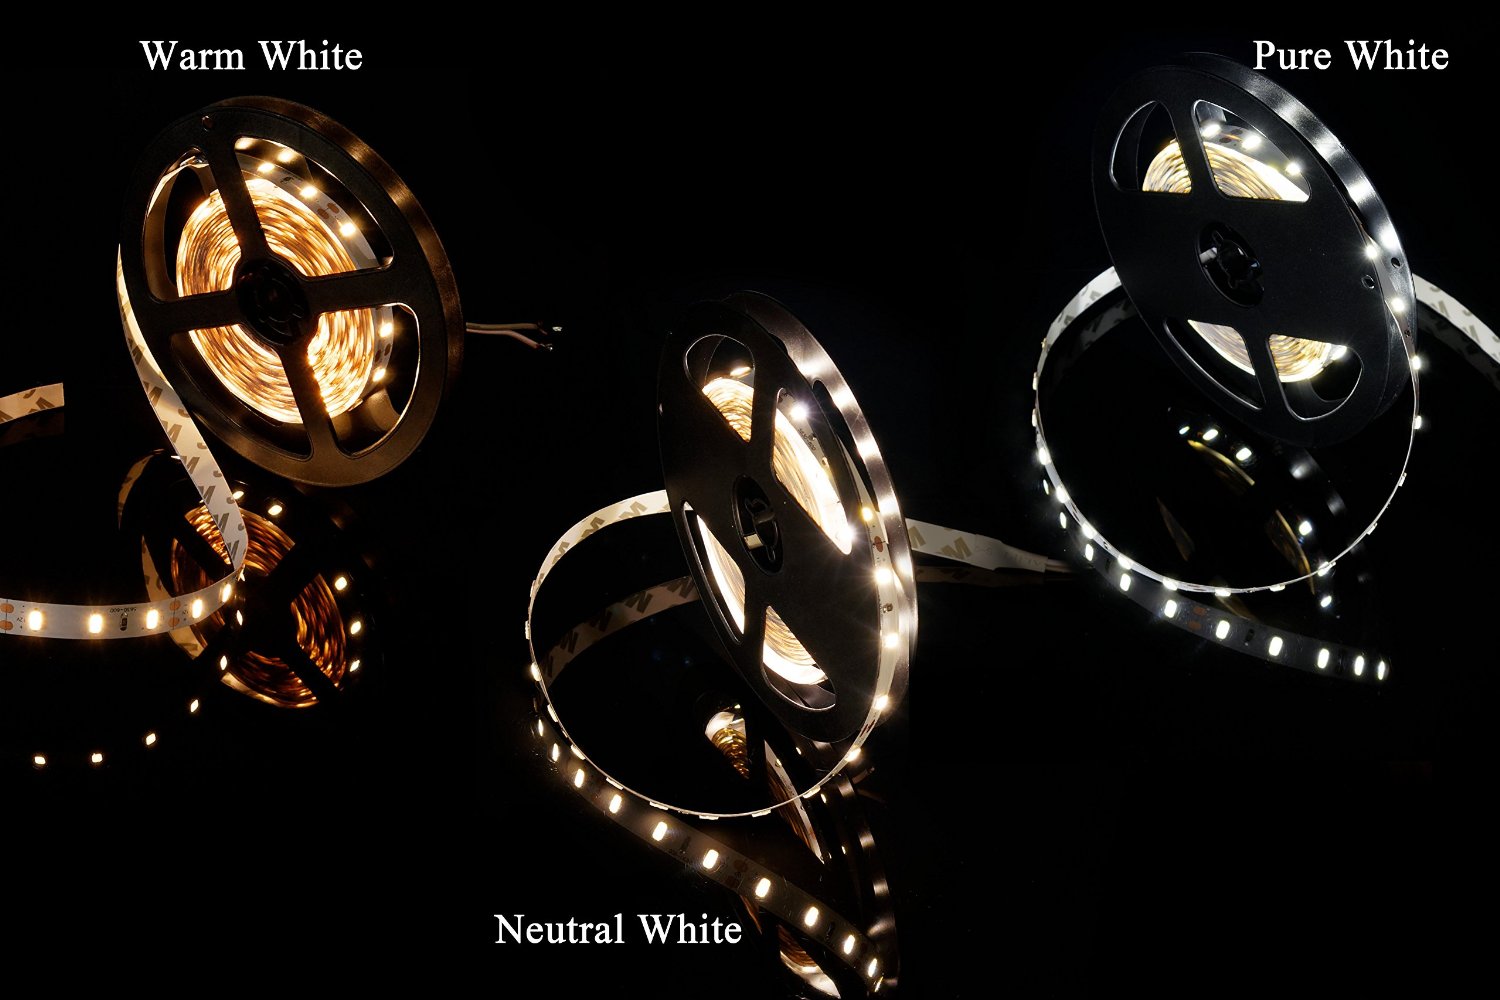
The heart of this DIY project are these particular led tape lights that the video host - Matt - has personally found to be the best middle ground between super cheap and crappy, and super high quality (but expensive).
There are a ton of LED strips out there, but these ones have a CRI of 85+ - which isn't amazing, but good enough for the price.
They come in 3 colors, but in order to get close to daylight, you need to get one Neutral White strip (4000-4500K), and one Pure White strip (6000-6500K). The mix of those gets you to around Daylight.
Keep in mind this is for the 30cm flexible panel. If you want to make the larger 45cm, you need to get two of each LED strip. (Actually you'll need more than 2... see below).
dimmer and DC Power Socket
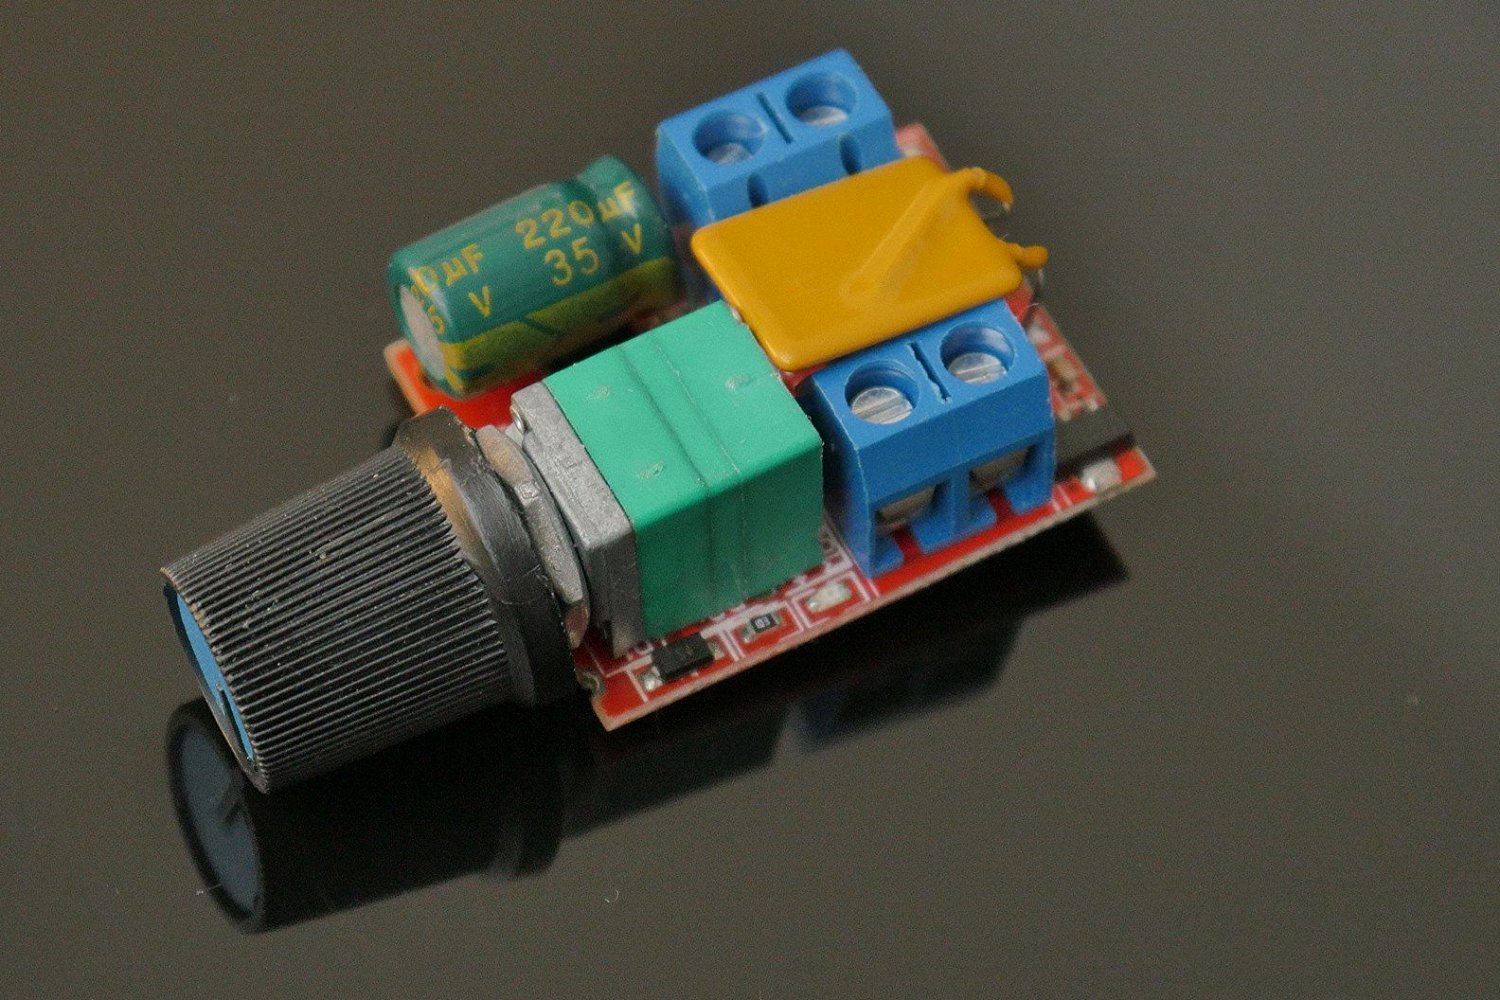
Made by the same company that sells the LED strips, this LED dimmer allows you to turn each LED strip up and down.
This not only gives you brightness control, but you can also fine tune the color output somewhere between 4000-6500K.
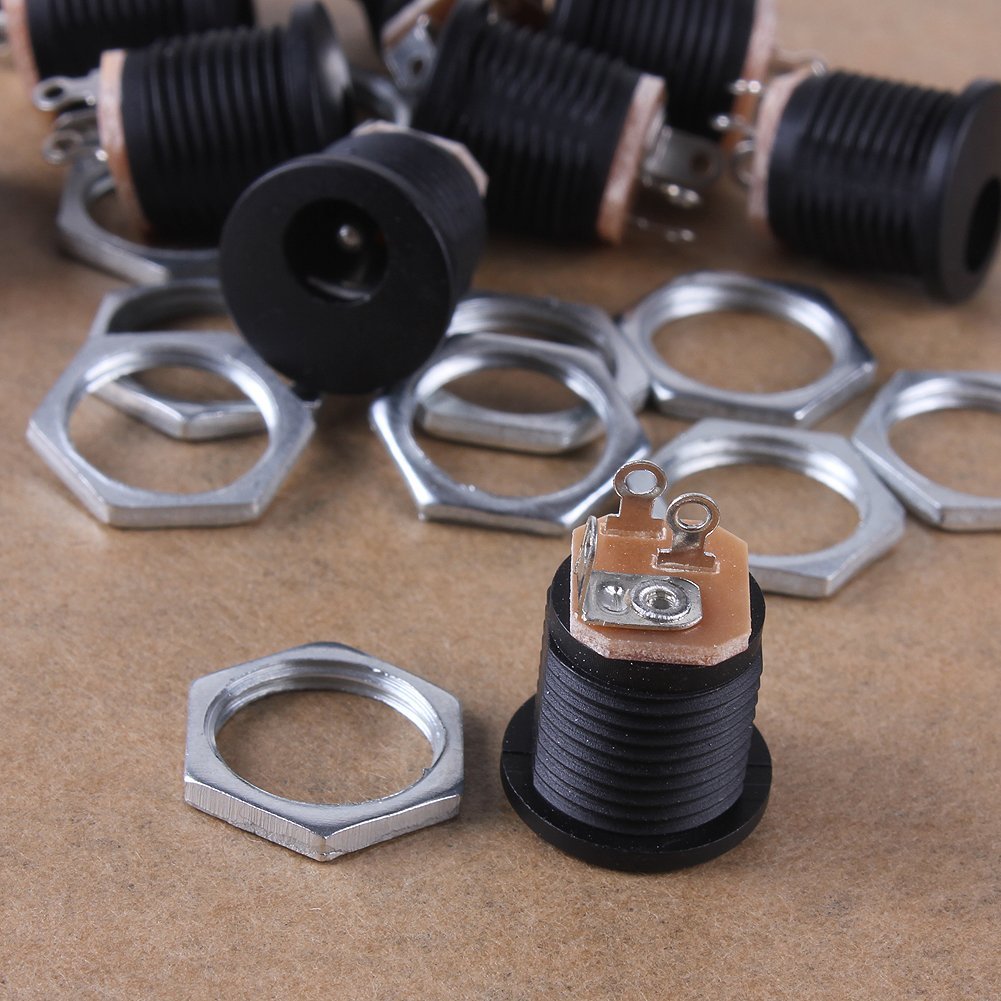
You'll also need a DC power socket that allows you to plug in an AC adapter to power the lights.
One lesson learned while studying the video over and over again, is that these sockets have an extra terminal, whereas in the video you'll only need to use two of them.
diy flex light: The Missing Details
Are you the type of person who reads a recipe 10 times, measures every ingredient precisely, and follows the instructions religiously, in order to feel sort of confident about your dinner plans?
If so, maybe DIY electronics isn't for you.
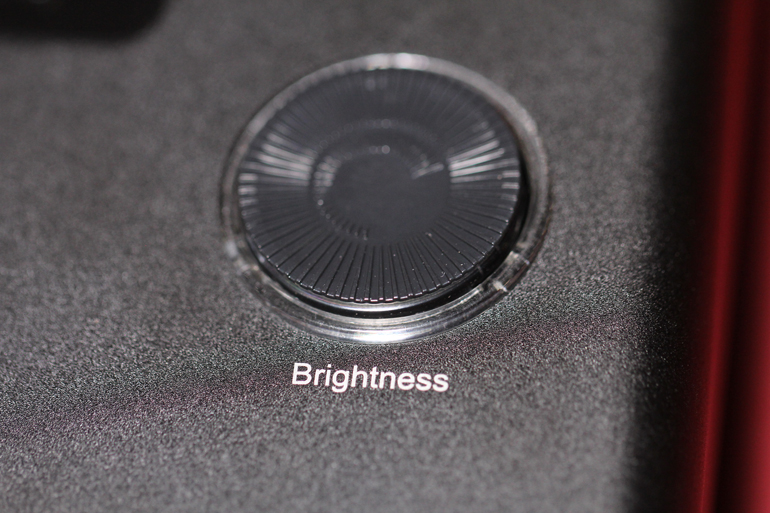
The problem with watching a DIY electronics video, without ever having ventured into DIY electronics, is there's a lot of things mentioned in passing that is not obvious to the newbie.
So after repeated viewings, going through all the comments, talking to other experts, and a lot of trial and error ourselves, here are some of the other things you need to make this flexible LED panel. Things that were not explicitly stated in the video.
LED Light Strips
If you're planning to make the bigger 45cm version of the DIY Flexible LED Panel, which we did, the video says you need 4 flexible led strips total. Two in Pure White, and two in Neutral White.
However, in actuality, you need 3 strips of each color. That's because there are certain cut points on each led light strip, and they don't line up to exactly 45cm each length.
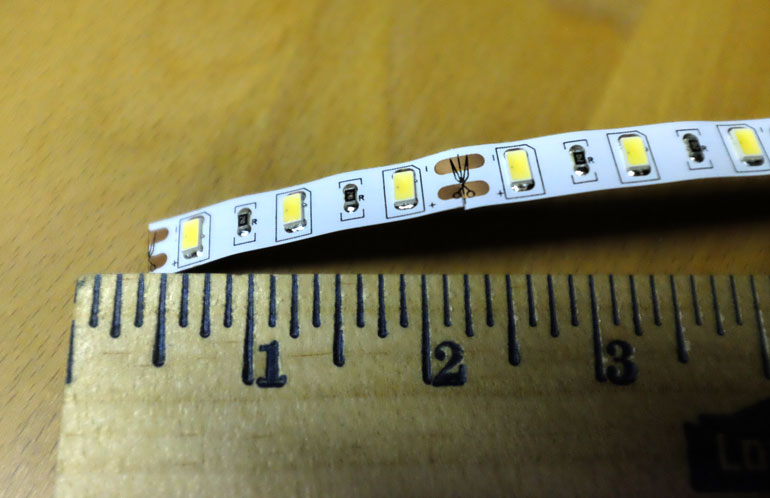
So after you cut one 45cm strip, you have to trash a short length of the strip in order to cut at a further cut point (where the scissor image is), which then measures to a 45cm strip from cut point to cut point.
We actually bought enough strips to make two 45cm led panels - or 8 strips total - so we happened to have extra strips in order to make the one 45cm panel. But if you're just making one, you'll find out very quickly that 4 strips won't cut it - you'll need 6!
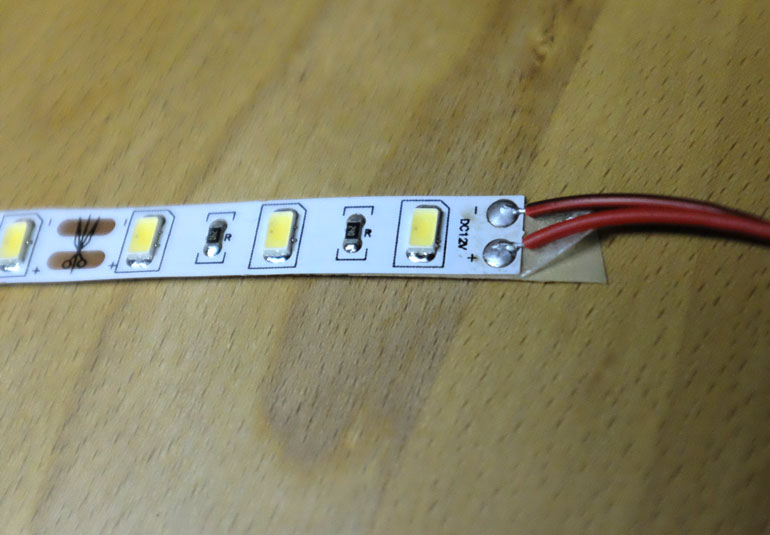
We also weren't sure if it was better to save the end pieces, which already had wires soldered to the negative and positive points. But since we're not electronics experts, we decided to stick to the video instructions and cut them into equal blank strips of 45cm each, from cut point to cut point.
Faux Leather / Patent Leather
The video recommends using faux leather as a backing for the flex light. But it turns out there's actually a lot of different types and lengths of faux leather.
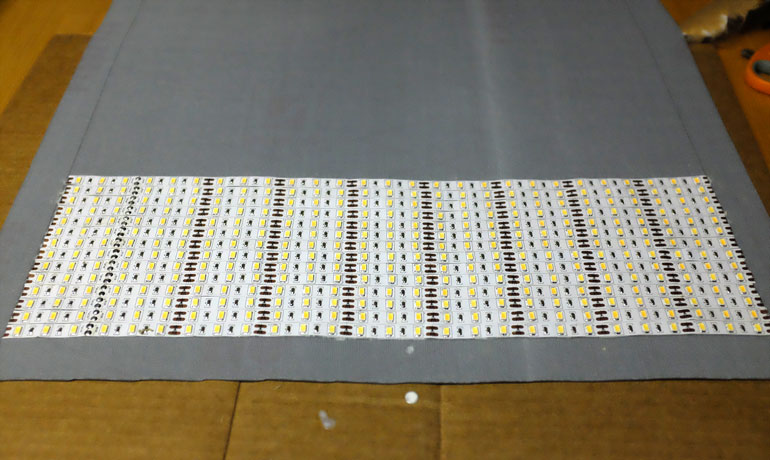
The easiest thing to do is go to your local crafts store and ask them for a piece no larger than 1 yard in width and length. You'll need to cut it down to 51cm x 51cm for the large panel.
However, if you don't have a crafts store nearby, you can still find faux leather on Amazon. Here's a well reviewed 1 yard piece that also comes in different colors. Red Flex Light, anyone?
After cutting a 51cm x 51cm and gluing the led strips very tightly along the way, we highly recommend you cut a bigger piece first, and then cut it down to size after the strips are glued on.
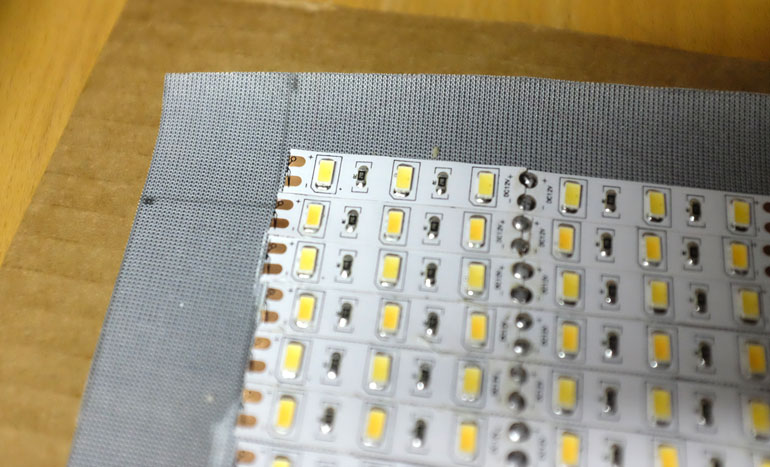
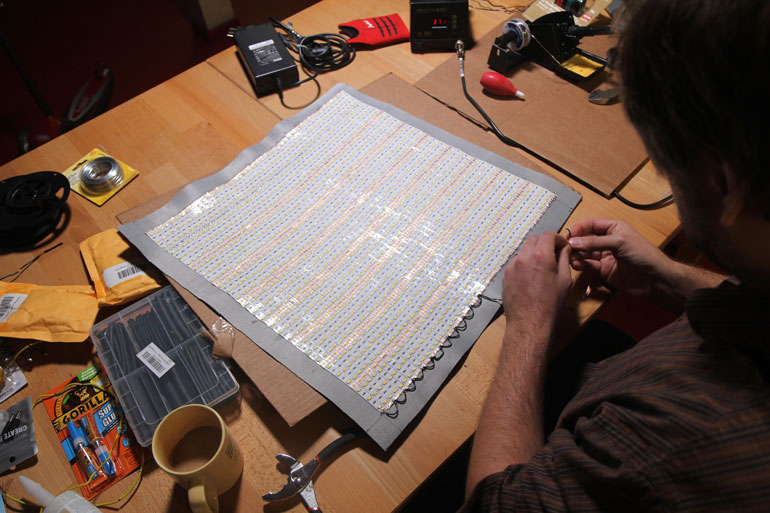
What happens is, no matter how hard you try to glue the strips perfectly next to each other along the way, it's impossible to make it into a perfect square. Here you can see at the end of the glue session, our strips ended up going past the 45cm mark.
So now we'll have a helluva time fitting all the wires in, and we'll probably have to attach another piece of faux leather around the top, to give it more room. Don't make our mistake!
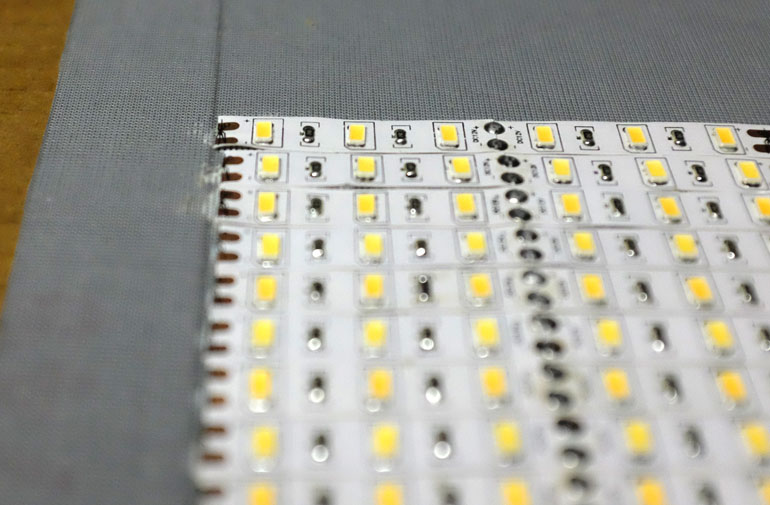
The other thing to consider as you're laying down the strips is that while you're laying them down next to each other, over time they will shift slightly left or right, away from the straight square. It's okay if they're not perfectly aligned, so just make sure to fix the strips along the way and keep everything relatively close to the 51cm x 51cm square.
The Glue that Holds the Led Lights together
Speaking of glue, this is one part of the video that has sent a lot of commenters into a tizzy. Here's why:
At 3:50, Matt recommends "Hi-Tack Fast Tack Glue" to attach the led tape to the faux leather. Unfortunately that's a product made in England and expensive to get in the US. You can use a lot of alternative fabric glues, but we ended up going with Bish's Original Tear Mender.
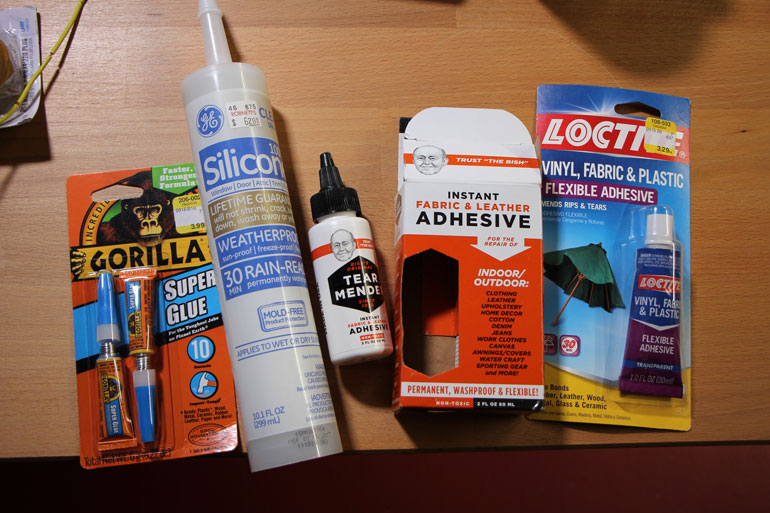
But more than the fabric glue question, the real mystery comes at 9:10 in the video, where Matt recommends a Silicone glue to use over the wires, as long as it dries flexible and is not of an acid cure variety, since it could corrode the metal.
Well, do a search for "flexible silicone glue acid cure" and you'll get years of heated arguments from pros and amateurs talking about which glues work and which glues ruin expensive electronics.
At the end of the day, we settled on GE Silicone II (Silicone I is very different apparently). And you can get it in a squeeze tube, or in a caulk cartridge either made for Kitchen and Bath, or Window and Door. We still can't figure out the difference between them all, so we settled on Kitchen and Bath in a caulk cartridge, because that seems made for flexible, interior scenarios.
And get the clear Silicone glue, not the white, because that's what Matt is using in this video and we just want to use what the expert is using.
Powering The bright LED Light
If you're out to make one of the small 30cm flex lights, the video points you to the laptop AC Adapter you can find practically anywhere to power the LED panel. As long as it has 3amps at 19V, you're good to go.
If you're making the larger 45cm version, however, you'll need a power brick that can deliver at least 6 amps, at 19V, and that ends up being a lot more difficult to find, not to mention more expensive.
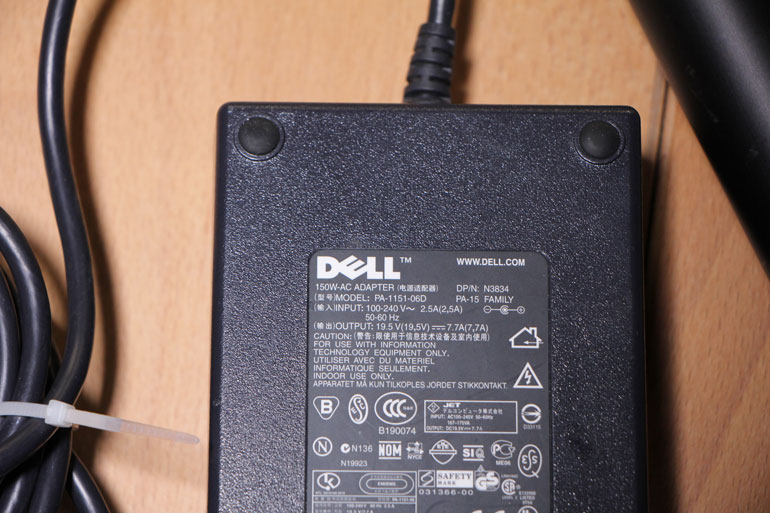
We ended up finding one locally at a used goods store operated by the local university. If you're looking on Amazon, just search for "19v 6amp" and you'll probably find something.
And if you're interested in figuring out a battery solution, well, so is everyone else who has seen this video. Unfortunately, no one has offered a solution they have personally tested. So we must wait and see!
The Wires
This is perhaps the greatest frustration of all, and we're not talking about Jimmy McNulty's decision to leave the major crimes beat for a cushy blue uniform.
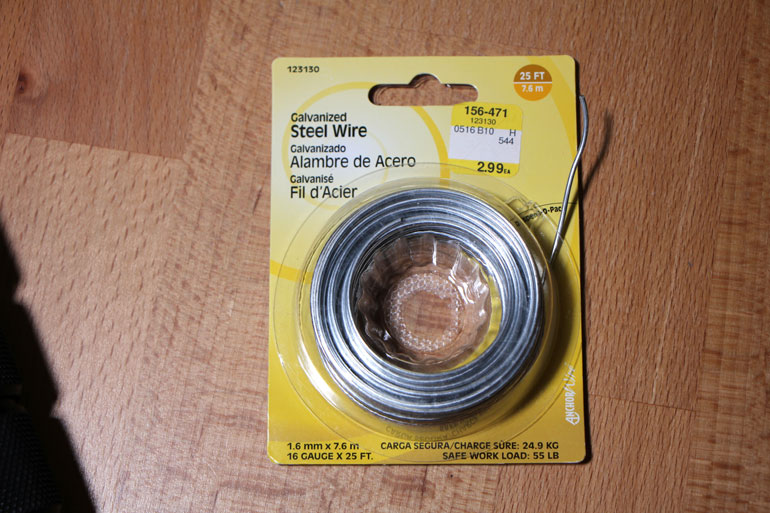
The first one is easy. You'll need galvanized steel wire to use as the semi-rigid frame around the flex light. What gauge is the ideal gauge? Something that is flexible but firm? Who knows. We just got the one the hardware store had.
At 6:36 in the video, Matt recommends "twin wire" with each wire containing "two cores." And "each of the cores needs to be reasonably thick to carry the power effectively."
This turns out to be a detail that seems easy but is kind of baffling. Maybe it's easier in the UK? Anyway, nobody at our local hardware store knew what twin core wire was.
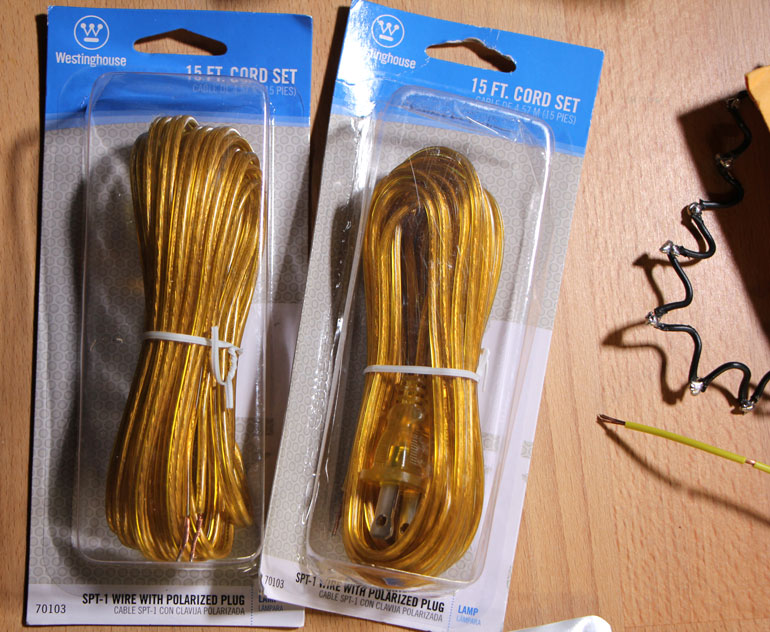
The closest thing we could find was a simple lamp cord, which is thick and can carry power effectively, but it only has two wires apiece. So we then bought some heat shrink to connect the wires together - and also cover up the ugly color.
If you want to buy from Amazon, you can also search for the gauge of the wire you want, followed by a slash, and then the number of wires in the cord. So if you search for 14/4, you'll find this.
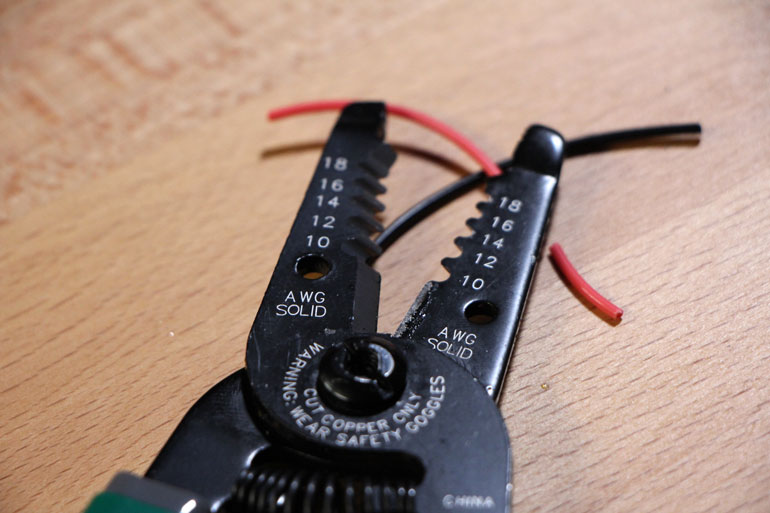
We're almost ready to put the thing together! But wait, you also need some wire strippers, and a soldering iron. We got this one, because it seemed like a solid iron with custom temperature controls, but less expensive than a Weller. You'll also need to get some solder.
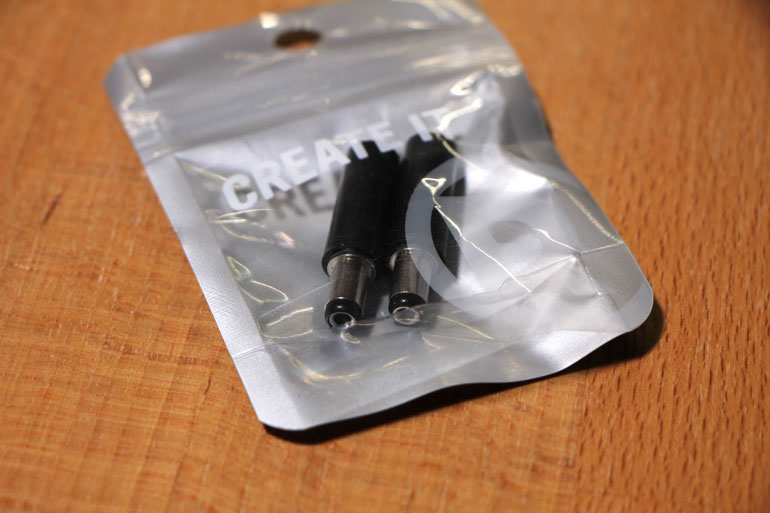
Oh yeah, you'll also need to get some a DC barrel that fits the power adapter you bought. OK for real, now we're ready to get to the fun part. Now you just need some red and black wires that we'll start to solder onto the led strips.
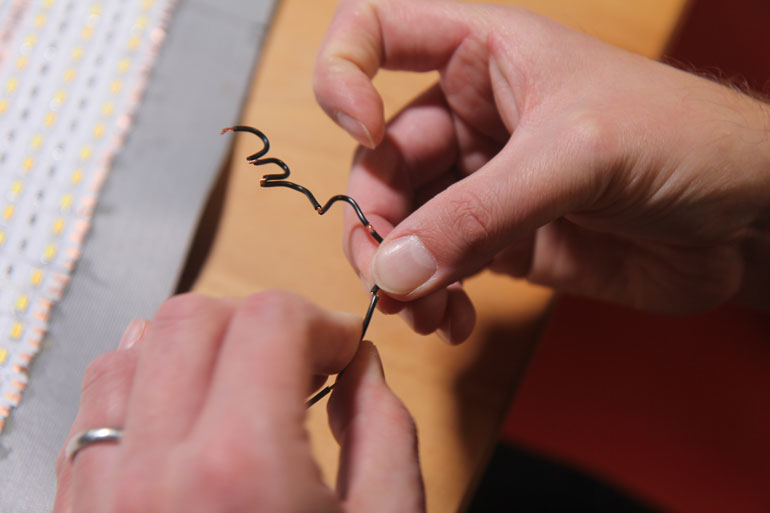
Soldering the DIY Flexible LED Light
Now that we finally have everything we need, and the LED strips are glued on, we can quickly solder everything together and voila! Well, at least that's what happens in the video.
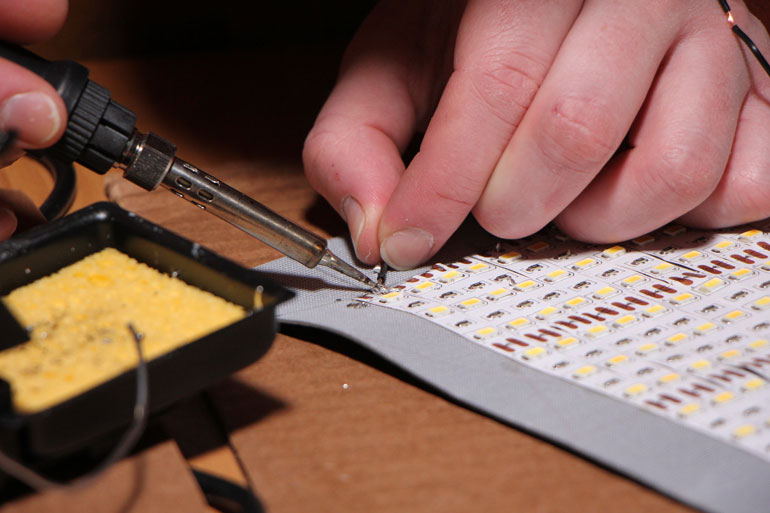
It turns out, soldering is really difficult if you haven't done it a lot. Or maybe it's the contact points on these LED tape strips that are bad conductors? Or maybe it's the solder that's not great? Or the iron? Or the black and red wires?
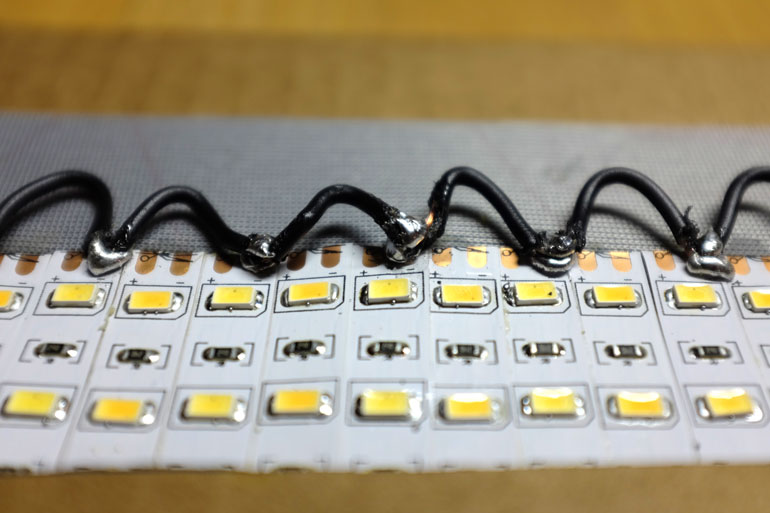
Whatever it was, the soldering did not go well. We had to use a ton of solder, and the points still barely stuck together. And that was just going through the black wires. Trying to fit the red wires in that close to the black wires seemed like an electrical short waiting to happen.
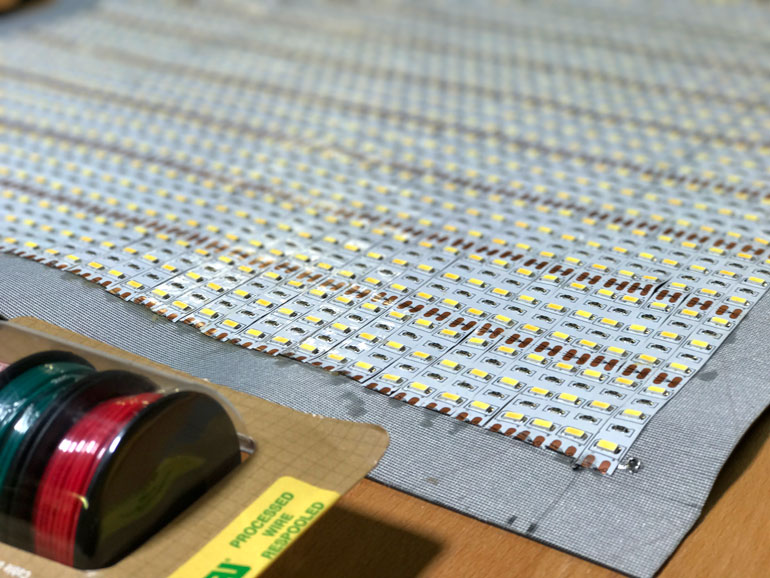
So after several hours of painstaking attempts at soldering, we decided that our problem was the wires were way too thick. They were difficult to bend, and as soon as you did, the last solder point came loose. So we de-soldered everything and went out and got new thinner wires, and started again (a few weeks later).
Were the soldering points still any good, after we completely desecrated them? We would have to wait and see.
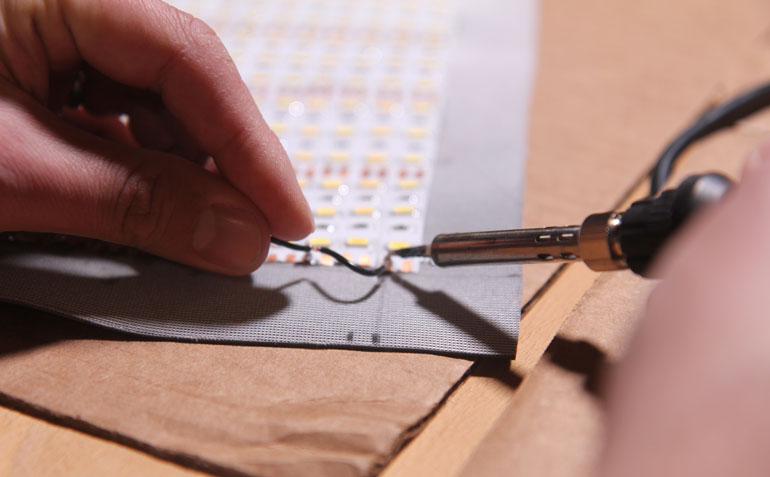
In our second attempt, things went a little smoother. The new 22 gauge wires were a lot thinner and easier to bend. But alas, our soldering skills did not get any better. That, or the contact points were completely stripped.
Conclusion
So sadly, this is where our grand dreams of making buckets of cheap flex lights came to an end. We spent close to $500 on all the tools and materials, and all we ended up with was a realization that we suck at soldering. And also that DIY electronics is really, really difficult.
No matter how hard we tried, we couldn't get these wires to solder well enough to the led strips. So we gave up, wrote this article, and moved on (until we're inspired to try again sometime in the future).
Yes, it was kind of fun to dream, and it was also cool to get our hands dirty and try a DIY project. It also made us completely in awe of people who can do this kind of tinkering successfully. But mostly it made us sad, because for the money we threw into this project, we could have actually bought a real Westcott Flex light.
So the moral of the story is: by all means, experiment and have fun with DIY projects. But do it for the fun and experience of it, not to potentially save any money on the real thing.
Especially if you make a living from photography or video production. Authentic, well made products keep us in business. And even if we were successful at soldering the DIY version together, to be honest, would we actually trust it on a paid shoot? Probably not.
And finally, store bought bagels are delicious, cheap, and readily available. Save yourself a lot of heartache and just skip the DIY homemade version.
