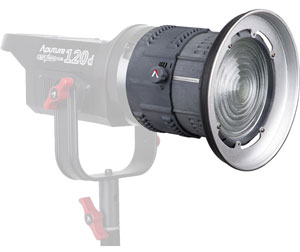
Aputure 120D: Our Extensive Review vs Other Fresnel LEDs
The race to the brightest, most powerful LED video light has recently taken an interesting turn, with chip-on-board (COB) technology providing quiet, super bright, and affordable hard lights that are ultimately very versatile once paired with lighting modifiers.
For professional lighting experts, LED fresnels have sparked many heated discussions about brightness and efficiency as compared to industry standard tungsten and HMI lights. But for the average videographer or solo corporate or documentary shooter, the debate about brightness can get bewildering fast. And then there are all sorts of diffusion options that are required of super bright, hard fresnel lights.
So should you be interested in LED fresnels, or is it better to stick with your simple 1x1 LED panel light?
In this article, we attempt to explain the benefits and challenges of the new trend in LED fresnels. We'll speak about a few of the manufacturers out there, but we'll focus on the Aputure Light Storm COB 120D, which is the one we have and believe will be very popular in this LED lighting category.
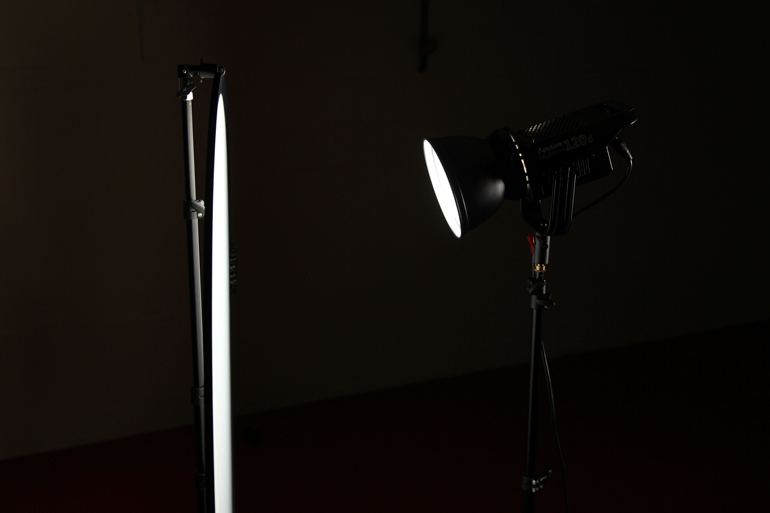
TL;DR: The Aputure Light Storm COB 120D is a powerful and very modular alternative to a LED panel, especially with the Fresnel attachment. But for an interview you’ll need to use diffusion such as a shoot-through umbrella, a reflector, a scrim, or a collapsible diffuser.
Panel Lights
For the last few years, 1x1 LED panels have been the go to method of lighting a corporate or documentary interview, as well as for general B-roll scenes. Variations of the 1x1 panel light have made their way onto many productions, such as flexible roll-up LED mattes, tube lights, and small form-factor lights that can be mounted anywhere.
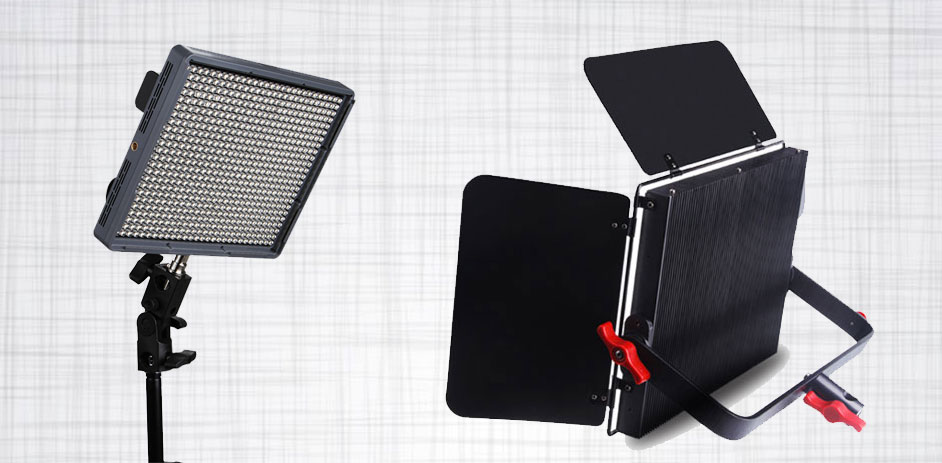
Aputure has done a great job of servicing the LED panel market with a variety of sizes and outputs, which we go over in this article. Essentially, their Light Storm LS1S is the flagship, super bright daylight rated 1x1 panel, at a fraction of what a Litepanels Astra costs. Aputure’s Light Storm LS1C provides a bi-color option for convenience, and their Light Storm LS1/2 is a half-sized panel that is ideal for fill and background light.
On the smaller, more portable side of the spectrum, Aputure makes the incredibly lightweight Amaran HR672 series, which gives traveling videographers a lot of light in a small (and very affordable) package. We don’t leave home without a set of Amaran HR-672W lights, no matter where we go. Aputure also has the popular 198 light for rim/hair light or as an on-camera light, and our favorite little gizmo, the AL-M9, a LED light the size of a pack of playing cards, which ends up being handy in many situations.
panel light alternatives
For the standard video interview, a 1x1 LED panel makes a videographer’s job fairly easy. But they can also be limiting. Battery powered tube lights like the Westcott Ice Light 2 can provide a soft wrap-around look to interviews, but they’re flexible enough to be mounted in places where a 1x1 panel wouldn’t fit.
Although the Westcott Ice Light has been primarily marketed as a constant light for photographers, we’ve used the Ice Light 2 as they key light on hundreds of video interviews. Although it’s not nearly as bright as a fullly powered 1x1 LED panel, when placed close enough to the subject the Ice Light has been a beautiful solution to quick indoor interviews.
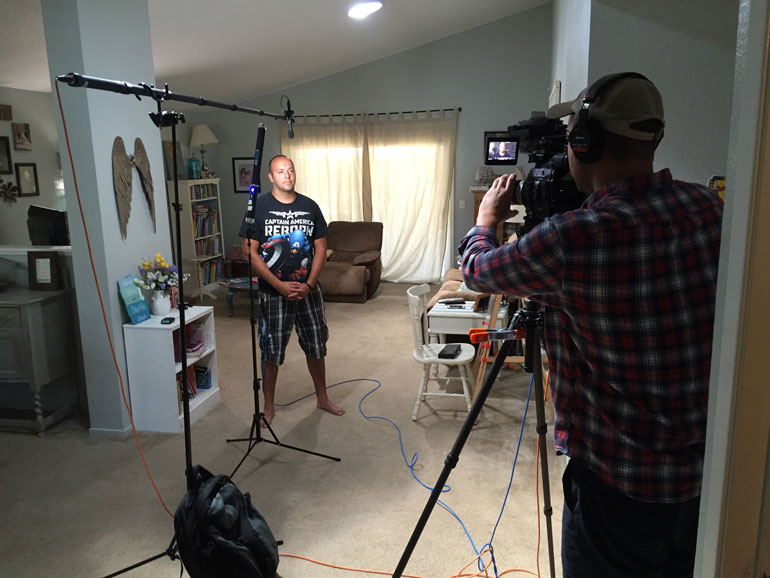
Westcott has also taken the traditional 1x1 panel and made it completely flexible, lightweight, water proof, and just as bright as traditional panels. We attempted a DIY version of the flex light in this article, but there’s no substituting a real Flex Light, or a Chinese knockoff - read our in-depth Flex Light review.
But like many 1x1 panels, even the flex light can be a little too harsh as a key light on a subject, so a softbox or diffusion material may be necessary, which adds to the setup time in addition to cutting the amount of light you have to work with.
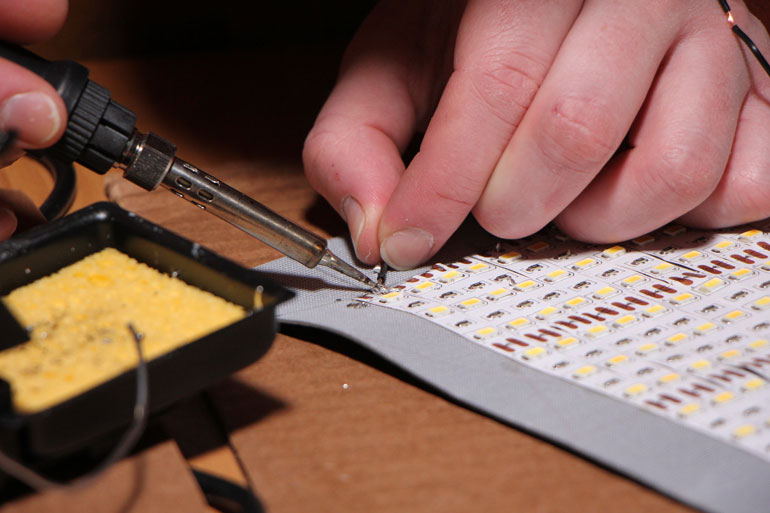
To solve the harshness of traditional LED panels, several manufacturers have sold their panels with integrated diffusion systems. The Litepanel Astra Soft requires no extra diffusion, and high end companies like Cineo and BB&S have introduced remote phosphor technology in their panels, which provides some of the most beautiful light output around, but at a cost. The Cineo Maverick panel goes for over $2000 and the Area 48 Soft is about $2500k, plus they'll need various accessories.
Fotodiox has also come out with several sizes of their Flapjack LED lights. They are unique in that the LEDs are placed around the inside edge of the lights, pointed inward, spreading the overall light around in a highly diffused manner. Although they’re not as bright as other LED lights out there, they are ideal for interview scenarios because they’re very compact and already diffused.
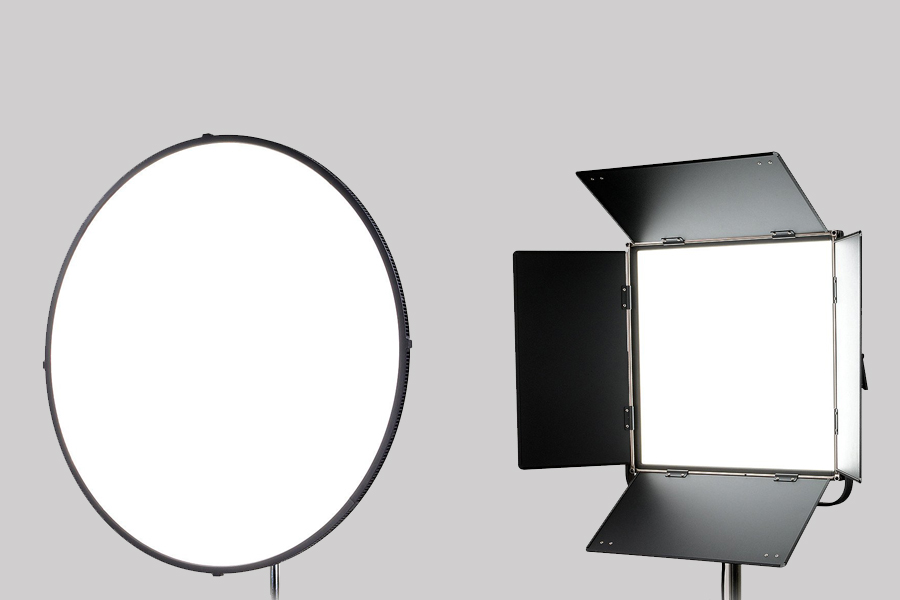
As we talk about later in this article, the complexity of a super bright LED fresnel combined with a diffusion system where a stop or two of light is removed means you may end up with the same amount of output as a Fotodiox Flapjack or an Astra Soft, except with a lot more moving parts. That said, you can greatly increase the size of the light source by using large scrims or umbrellas. Whereas the largest Fotodiox Flapjack is the Flapjack 32” Studio XL (which we also hope to review soon on this site).
Aputure COB 120D
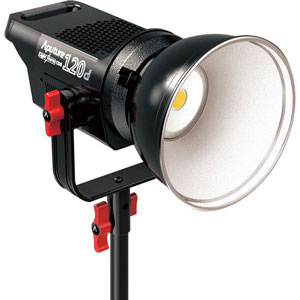
At NAB 2016, Aputure introduced the Light Storm COB 120T as a super bright 1500 W equivalent light, in a 3000k color. Since that announcement, they’ve also came out with the Light Storm COB 120D, which is daylight or roughly 6000k in color.
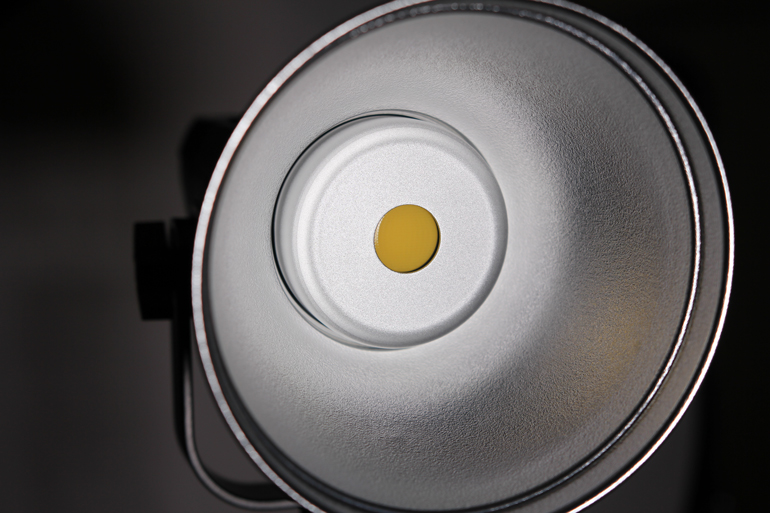
The COB 120 is Aputure's first Chip-on-Board light, but they’ve got a lot of things right by asking working filmmakers for input during the design process. The COB 120 has a CRI of 97, and color accuracy is something that many videographers are making their buying decisions around these days. Part of that is because some of the earlier, budget friendly LED lights promised a lot of output for the money, but had poor color rendition with terrible green spikes, which made skin tone look really off. Gels could correct for those spikes, but they reduced light output and made it one more thing that solo shooters had to worry about.
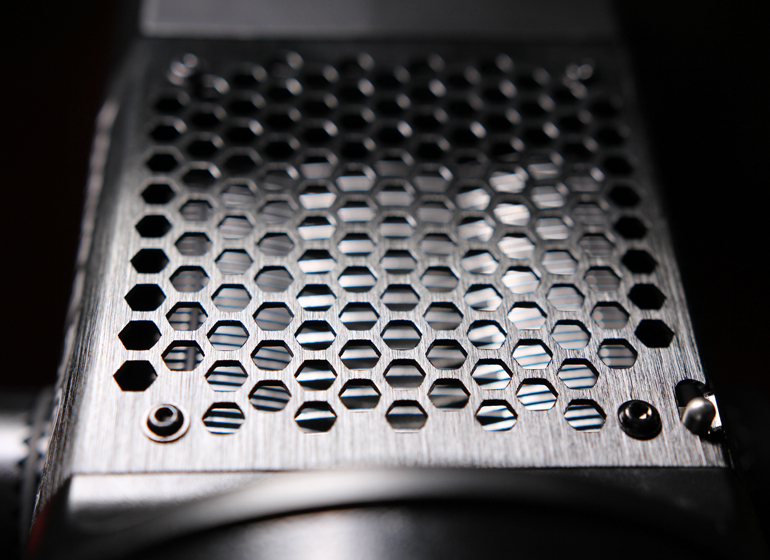
The Aputure COB also has a superbly quiet motor, which allows it to stay cool while not ruining your interview audio. Traditional hard lights have always come with heat issues, which could mean having to use gloves to work with the lights, waiting for them to cool down after use, and them throwing heat at the subjects and the room they’re in. They also drew a lot of power, which could mean blown fuses when setting up interviews in a house that didn’t have enough outlets (or the right kind of outlets).
To be perfectly honest, we’ve never used those kinds of lights on our documentary and corporate shoots. We began our careers at a PBS station shooting in a studio that had an assortment of hanging lights that never really changed. When we went off as independent producers, it was a a time when Litepanels 1x1 LED panels with V-mount batteries were around, and the majority of our lighting needs were for interviews in homes, offices, and outdoors. So we went straight to the panels.
We say this truthfully because with the rise of LED fresnels, we’ve seen a lot of forum posts from video shooters who also have little experience with these older lights, but are using the language of HMIs and Tungstens when asking for recommendations for which light to buy.
Of course for seasoned professionals, anyone working on narrative shorts and features, or practically any video producer in L.A., there is a lot more knowledge and consideration for how LED and COB technology can or can’t compete with traditional lighting on professional sets. And for these shooters, LED panels have never been bright enough or modular enough to replace the workhorse lights they’ve used for years.
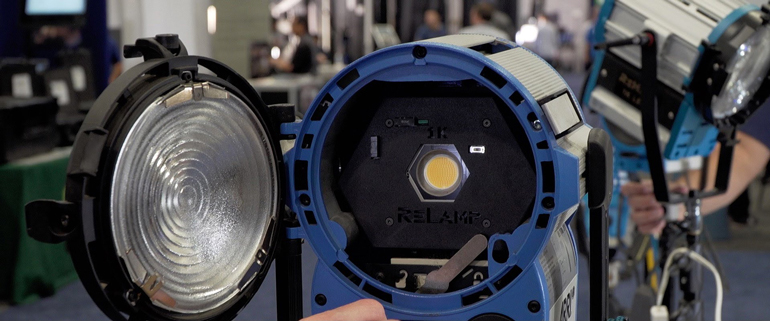
That’s changing now with COB technology, especially with the recent introduction of the VisionSmith Relamps, which enable owners of traditional fresnels like Arri or Mole-Richardson to replace their bulbs with LEDs. They’re quiet, stay relatively cool to the touch, and last longer than these bulbs. But are they as bright?
This is where the question of brightness becomes a huge debate, because traditional light output has been specified by the power draw, such as 150W, 300W, 650W, and so on. But with COB fresnels like the Aputure COB 120D, the power draw is much lower and more efficient, so a wattage-equivalent system is used to measure photometrics, judging by lumens, lux, or by foot candles.
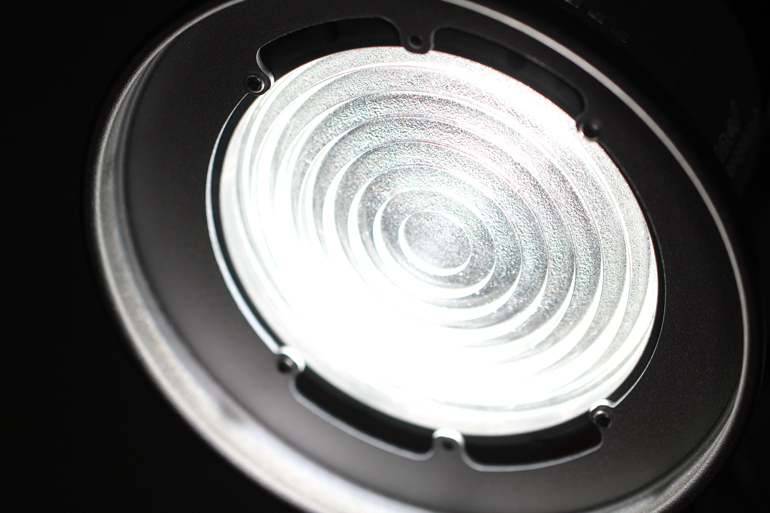
And because power draw is no longer a simple way to measure a light’s output, the way that different manufacturers present their photometrics can vary substantially. It’s especially confusing because each LED light has a different beam angle. So a 25 degree beam angle will render a much brighter result at 1 meter or 3 meters, than a 125 degree beam angle. And when you attach a light modifier such as a fresnel lens made for the Aputure COB, you’ll get a much narrower beam angle that focuses all the light output onto a single spot as small as 12 degrees.
So, you can imagine how difficult it is to determine the output of an LED fresnel in comparison to traditional tungsten lighting, and for the most part narrative and hollywood producers remain skeptical that LED technology, even COB, can replace the ultrabright Joker HMIs, for example. But for a videographer simply wanting to buy the brightest light they can get for the money, how do you know what’s what?
Here’s some food for thought from Aputure’s Ted Sims on a recent Facebook post.
Why is It so hard to find the output equivalence of a tungsten light versus a LED Light?
1. 500w/650w/1k are all measures of Power Consumption, not Output.
This is a bit of a confusing question to answer because there are many factors at play when measuring any light. A traditional 1k tungsten light, for instance, is called a 1k not because of it's brightness, but because it consumes 1000watts of power. The brightness that comes out of a 1k varies greatly and depends on the efficiency of the bulb. With greater efficiency comes more output, meaning that one brand's 1k can have a total output that is as much as five times as much as another brand's 1k (see ARRI vs ePhoto). This makes it very difficult to compare an LED light to a "1k". Is a 1k an ARRI 1k? Or a Lowel 1k? or an ePhoto 1k? If we're talking ARRI, the 120 is about a 550w/600w. If Lowel, it's a 750w. If ePhoto, it's a 1.2k. However, this is not considering beam angle and fall off.
Regardless, the industry standard for converting power consumption when comparing LED versus tungsten lights for the same output is a ratio of 1:12. LED technology is twelve times more efficient than tungsten technology, meaning the power output for every 1 watt used in an LED light is equivalent to 12 watts used in a tungsten light. The COB120t draws 120 to 135 watts of power. Using this efficiency ratio, the COB120t is equivalent to a 1.5k tungsten light (1440w to 1620w). However, obviously this isn't accurate either as output is not the same as consumption and we know this, so lets talk strictly about output.
2. LUX is not an accurate measurement of Output.
The problem with output is that there isn't a clear way to measure the output of a light. The closest thing that we have is LUX. However, even LUX won't consider the light's fall off, beam angle or consistency of spread.
Lux only measures a single point of light rather than measuring every ray that a product emits. It does not account for beam angle or hot spots, both of which can cause incorrect readings that will make a light seem as though it has much more output. If you use LUX as a measurement for the Amaran 672 series, for instance, the HR672s (spotted light) will seem three times brighter than the HR672w (flat light) because it is focusing all of its output into a smaller area even though the two lights are the same size and are pulling the same power.
3. Beam Angle and Hot Spots can cause LUX readings to Vary Greatly
The 120 series of lights are particularly difficult to measure because they have a beam angle of 120 degrees, which is almost five times wider than a traditional spotted tungsten light. So if we try to measure the LUX at the center of an LED versus a tungsten light, the tungsten light will be undeniably brighter because it is focusing more of it's light into a smaller area. Usually this will be 25 degrees or 45 degrees against the Light Storm COB120's 120 degree beam angle.
However, if we use the Fresnel attachment on the LS COB120 light, the beam angle can be changed from 120 degrees to anything from 12 to 42 degrees of light. Now this conversion isn't perfect, which means that there is some light spill and light loss. However, with this attachment the LUX reading of the 120d light can be raised from 14,000 LUX at 0.5 meters away (without fresnel) to almost 6x the lux at 67,000 (with the fresnel).
What does this mean for measuring output? This means that if we're going off of LUX, the output of the 120d can vary from being 1x to 6x as powerful without pulling anymore power or having better efficiency. This doesn't seem right either. So let's move onto the next topic.
4. Each Manufacturer sets their tungsten light equivalence differently.
Because of the difficulty of measuring what tungsten light an LED is equivalent to, each manufacturer has set a different standard for how bright their light is. This makes it extremely confusing because the 120d is brighter 1.5 times brighter than the Savage "1k equivalent." And the 120d is only a little less bright than the Fiilex 1.5k equivalent. As Aputure, we're not the first ones to enter the LED market, which means that we're forced to use the measurements that other companies have set before us. Which is very confusing indeed.
That said! If you're looking for an easy answer and just from personal experience, I say the 120d is about as bright as 700w ARRI tungsten light. I'm not super happy with how it was marketed at NAB last year and I promise we'll do better at this next show where we will be sure to be releasing even better, stronger lights.
Hope this helps!
-Ted
LED Fresnels
With Ted’s explanation in mind, there are a handful of LED fresnels that are on the radar for videographers looking to buy or add to their light arsenal. While Litepanels Solo and Dedolights have been around for a while, there are also LED Fresnels from Zylight, Dracast, and Kinotehnik, which makes the popular Practilite 602 Smart LED Fresnel.
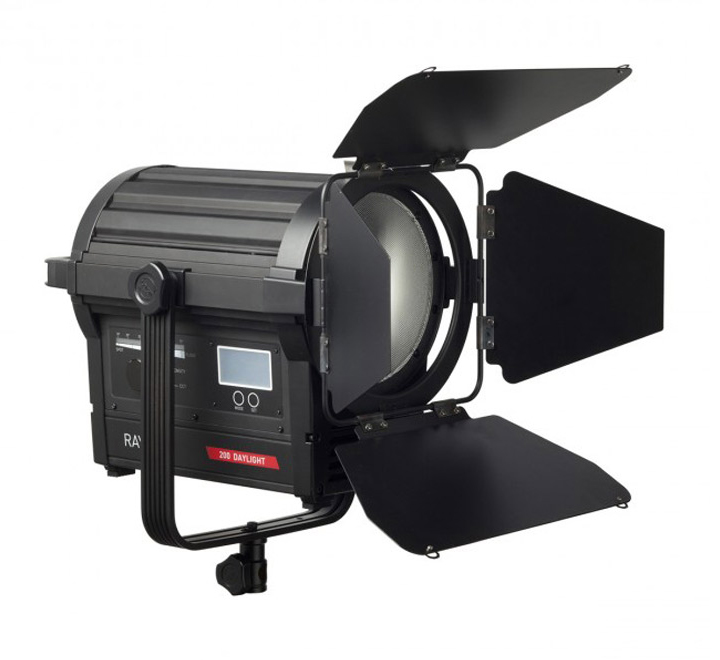
Another new addition to the market is the RAYZR7 LED fresnel. It’s much larger than the Aputure COB lights, but it looks like a promising alternative to tradional fresnel lights.
The RAYZR7 boasts up to 1.5 times brighter than a 1K tunsgten fresnel, but with all the advantages of a modern LED light. But we dare say, it’s perhaps too much light for most documentary and corporate shooters.
For narrative and commercial work where you're lighting a scene or stage, having a really powerful LED like this would be great. But if your primary goal is to light interviews, you probably don't need something this big and powerful, and it might even slow you down.
The Came-TV Boltzen lights, however, look like very good COB lights with focusable fresnel fronts that allow you to vary the beam from a narrow spot to a wide flood. They come in a 30W and a 55W models, both of which can be powered by the ubiquitous Sony NP batteries (though the 55W model only at 50% power).
And the Came-TV Boltzens are really, really cheap, like under $300 for the 55W version. But although we haven’t been able to secure a review copy ourselves, we remain skeptical about the durability and performance of these lights.
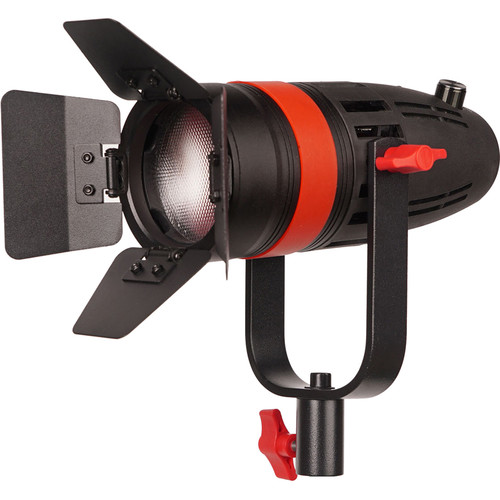
We’ve read reports of them having strange issues to not working at all, but what can you expect from the cost of these lights? So for the most part, many shooters are happy with bringing along these super lightweight lights as extras for pop here and there.
So if you want to use a LED Fresnel as your primary light, you may want to step up to a more seasoned light. The Aputure COB 120D is a great middle point in that it’s around $600, but has been tested by a number of shooters in real world conditions. But to use them as your key light, you’ll need diffusion.
Diffusing the Aputure COB 120D
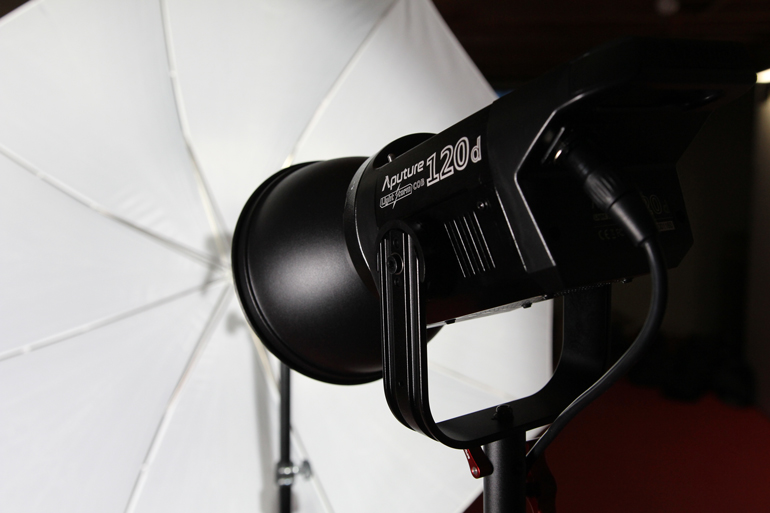
If you’re looking to move into using a LED Fresnel on your shoots, the world of diffusion or light modifiers is what makes something like the Aputure Light Storm COB such a modular light. It features a Bowens-S mount, which is a popular mount for photography and video lighting, so you can experiment with a wide variety of attachments to modify your light. For example, you can get a beauty dish for a particular kind of light spread, without adding much size or complexity to your setup.
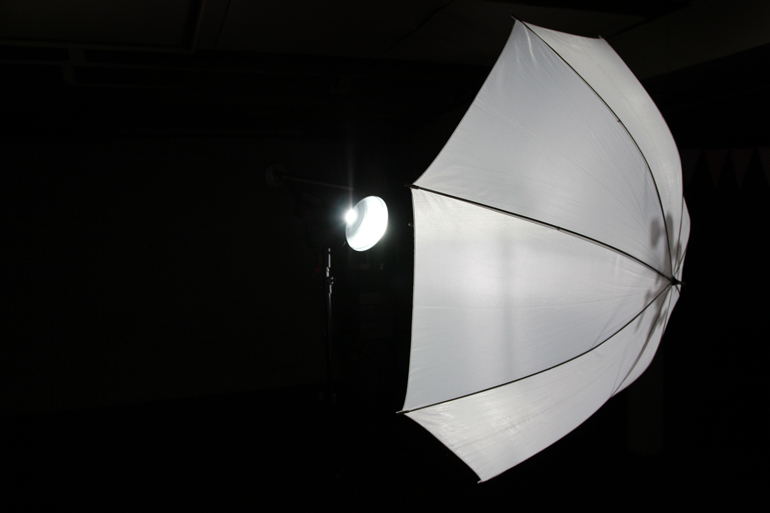
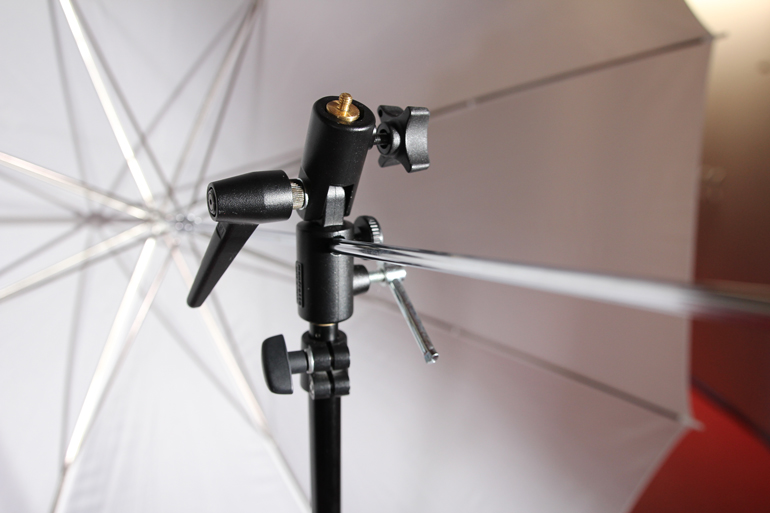
Probably the simplest form of diffusion for the COB 120 is a shoot-through umbrella. They fold down to about a foot, and you can get an accessory attachment that goes onto your light stand that grips the umbrella handle. The benefit to this setup is you don’t need an additional light stand, but the disadvantage is that an umbrella can take up a lot of space in a small room.
T he COB 120 light also has an integrated umbrella holder right above where the light connects to the light stand stud. So, this makes an umbrella an even easier choice for diffusing this light.
5 in 1 Reflector
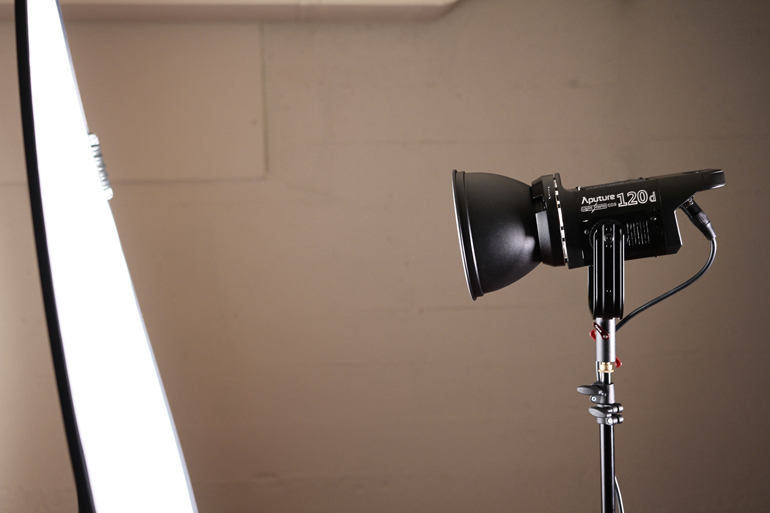
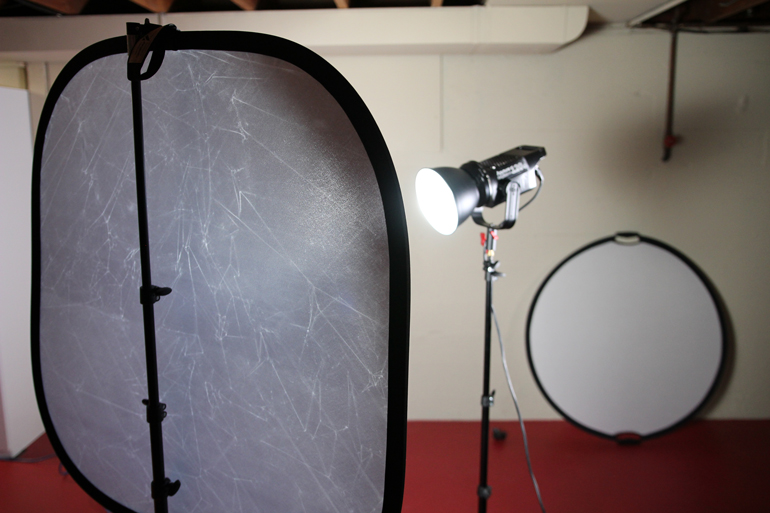
For about $20 you can get any number of 5-in-1 reflector kits that end up being cheaper than a dedicated collabsible diffuser. The silver/gold reflector and black/white backdrops could come in handy, but at its core, this is a one stop diffuser that works easily as a see-through diffusion for a LED fresnel like the COB 120D.
There are various sizes of affordable collabsible diffusers you can get for not a lot of money, but we ended up with the 42-inch circular kit. The 72x64 kit ends up being pretty huge, and too large for packing in a suitcase for air travel. While a 32-inch model is not a big source of light if you’re gonna go to the trouble of adding a diffuser to your LED fresnel.
The question is how do you mount the diffusion sphere? Well, there are a few options, some standard and some DIY. You could certainly get a C-stand, which is the most solid way to hold any kind of diffusion panel, but they can are large and difficult for air travel. You can also buy a dedicated reflector stand or heavy-duty holder, which is a more portable solution. Or you can get a $6 reflector holder that mounts to a portable light stand that you already have.
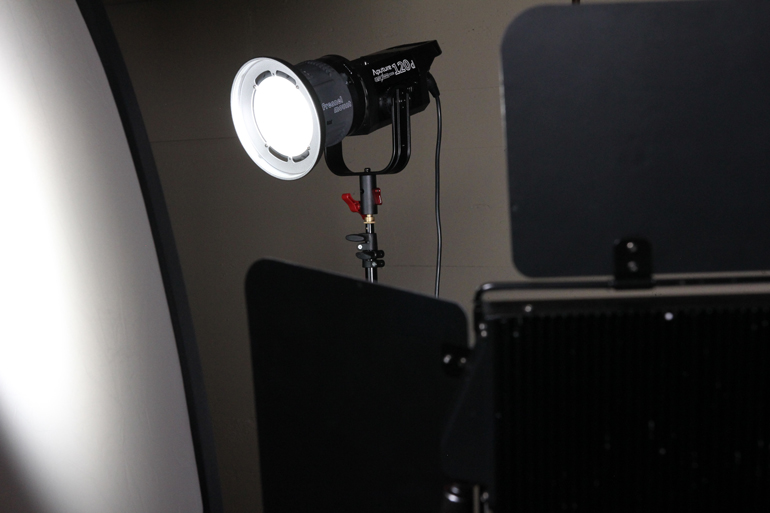
Or if you can find a gooseneck that is durable enough to hold a diffuser, you could attach it to your light stand, and stretch it out so that it hangs in front of your light but with enough distance between them. The problem is finding a gooseneck or clamp that can hold a diffuser solidly without bending.
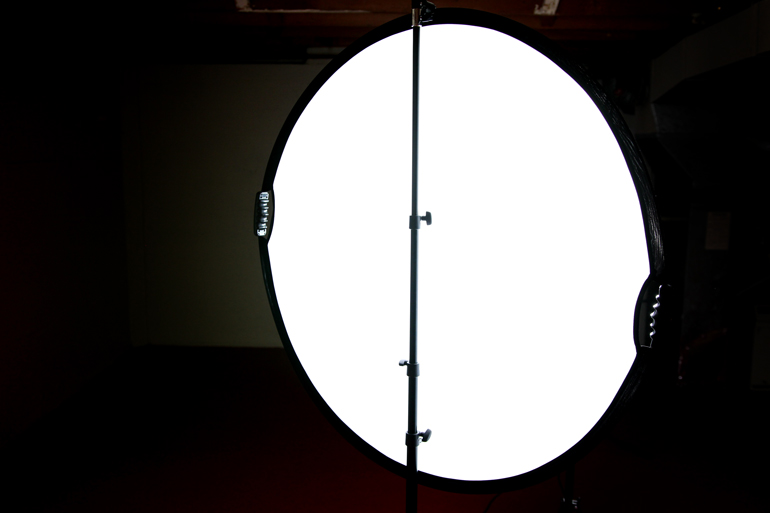
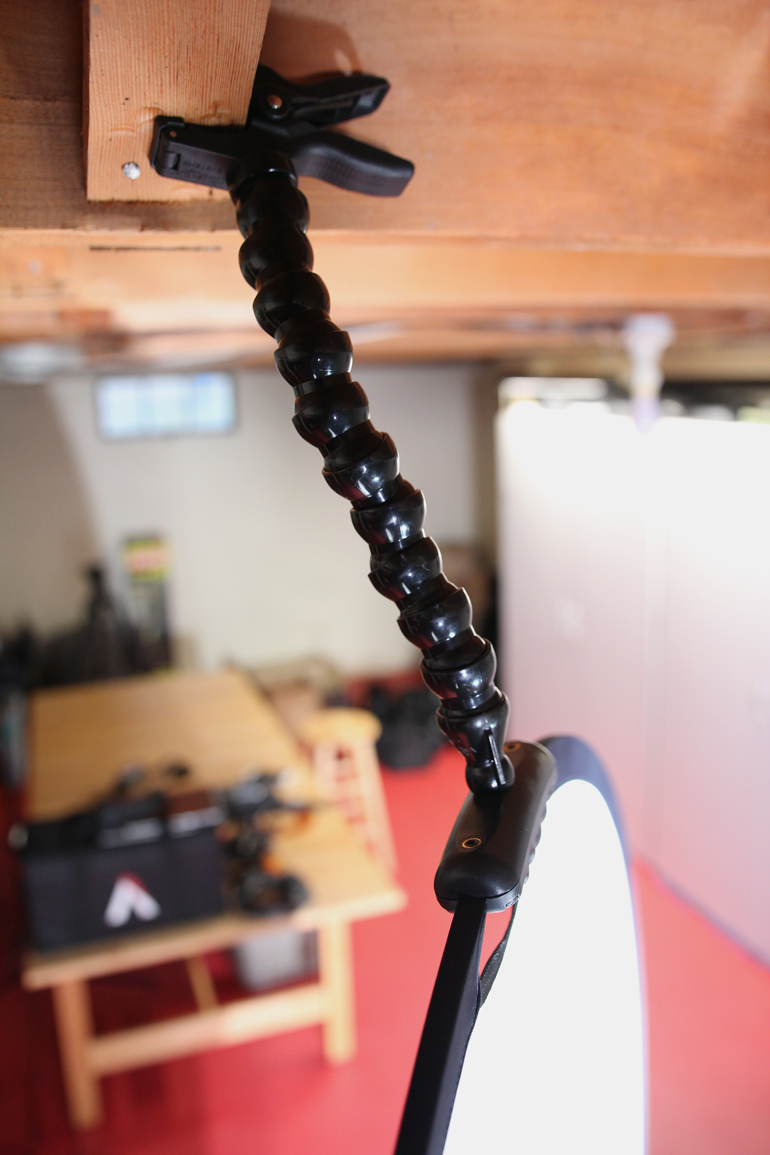
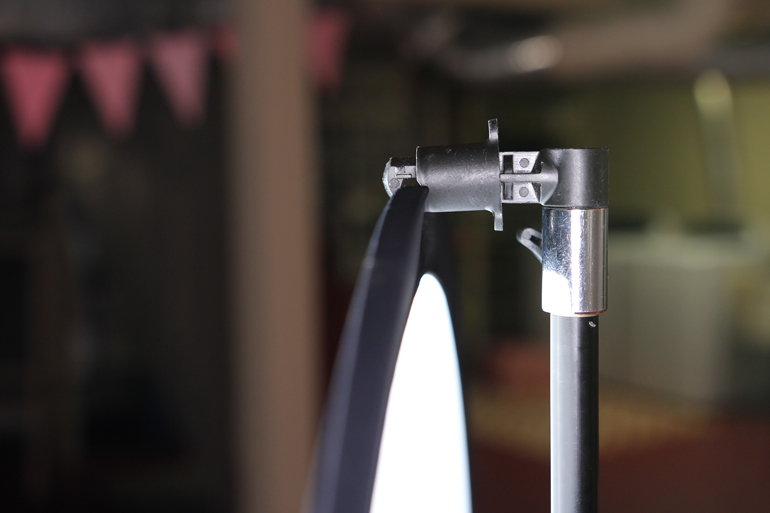
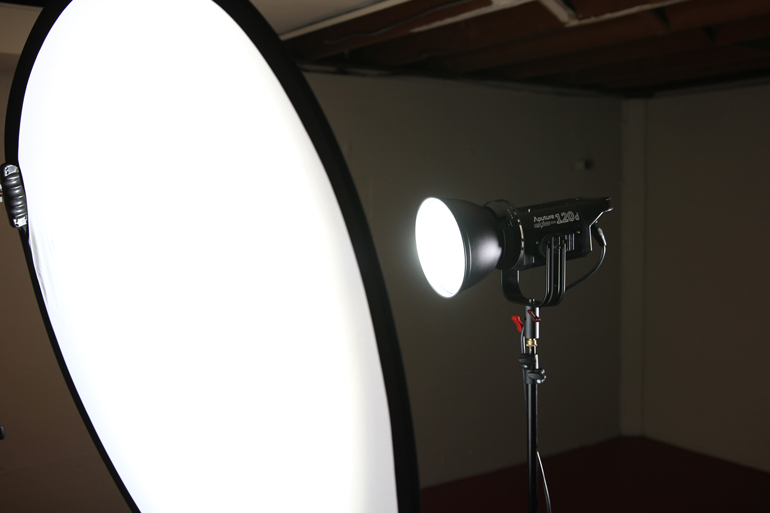
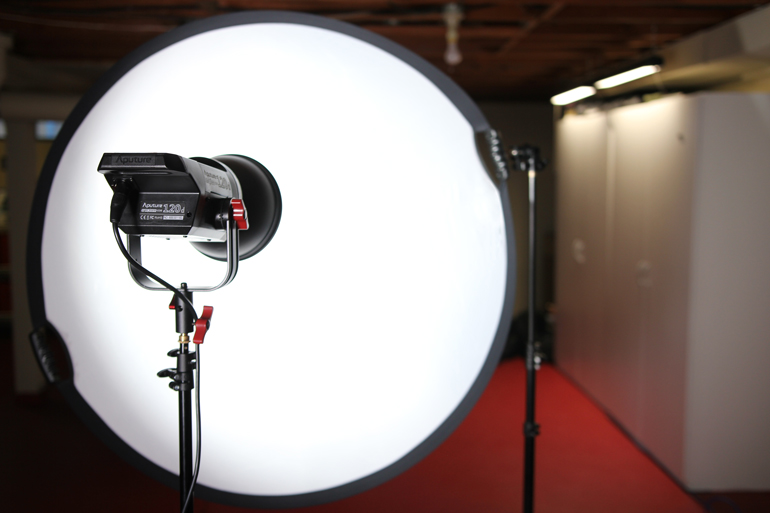
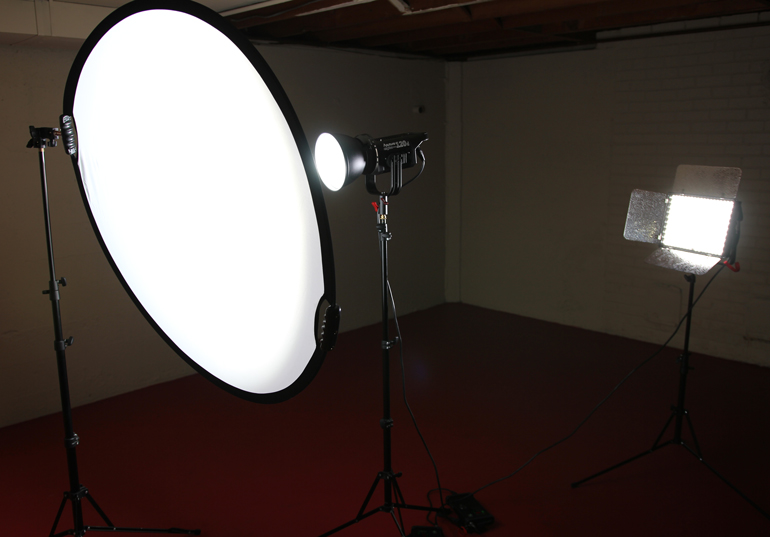
We ended up getting a 5-in-1 reflector that has handles built into it. Sure, it’s helpful for holding (if you have an assistant on your shoot), but more importantly it has several 1/4”-20 threads built into the handles. We found that the handles are not sturdy enough to hold the diffuser upright, but hanging it is a breeze. And there are a number of ways to hang the reflector.
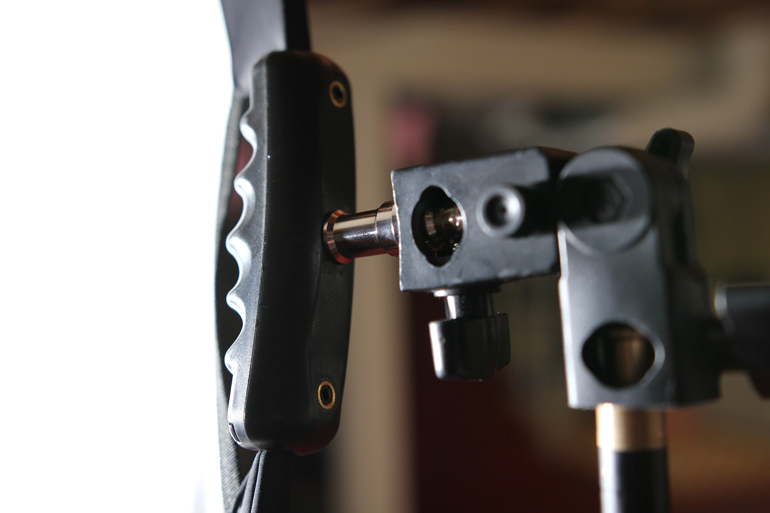
The first method is using something like the Aputure tilt adjustable light stand mount adapter, which comes standard with the Amaran lights. It has a 1/4-20” screw on the end, so you can hang the diffuser from the top of the light stand. Here we’re using the lightest, most portable light stand we have, a Manfrotto 5001B Nanostand.
The one issue is that the light stand is visible through the diffusion, since it hangs behind the stand itself. It may not be a problem, but you’ll want to make sure there’s no shadows on your subject’s face from the vertical light stand.
Another benefit to the 1/4-20” thread on the diffuser handle is you can hang the sphere from anywhere you can attach a Gorillapod, Nasty Clamp, or Dinkum ActionPod Pro. Here we’re hanging it from the rafters of our Digital Filmmaker basement, but you can attach one of these clamps to just about anything.
There are also cheap reflector holders that you can hang your diffuser from. They work very simply by gripping the reflector from the top. But again, the issue is that you can see the light stand through the diffusion, which may affect the light on your subject.
But the cheap reflector does come in handy when you want to use an actual reflector, rather than see-through diffuser, for your COB 120D light. We love the Westcott 42-inch Illuminator Collapsible Reflector, which has both a white and a silver side.
You simply point the light towards the reflector and you get a beautiful bounce light that is enough for to light most interview or B-roll scenes. It’s a little better than bouncing the light off a celing, which is unpredictable (depending on the ceiling) and can spill light a lot farther than you intend. You can also place the reflector a lot closer to your subject, allowing you to control the light angle and intensity better.
Westcott Scrim Jim
Although they can be a little expensive for occasional use, the Westcott Scrim Jim system is a long-term investment in a modular and portable system. Essentially you get enough pieces to build the size of scrim you want, say 4x4 or 6x6, and then you pick out the diffusion material you want, and that’s it. When you get to your location, you quickly setup the scrim frame, stretch the diffusion over the frame and velcro it in place, and you’re good to go.
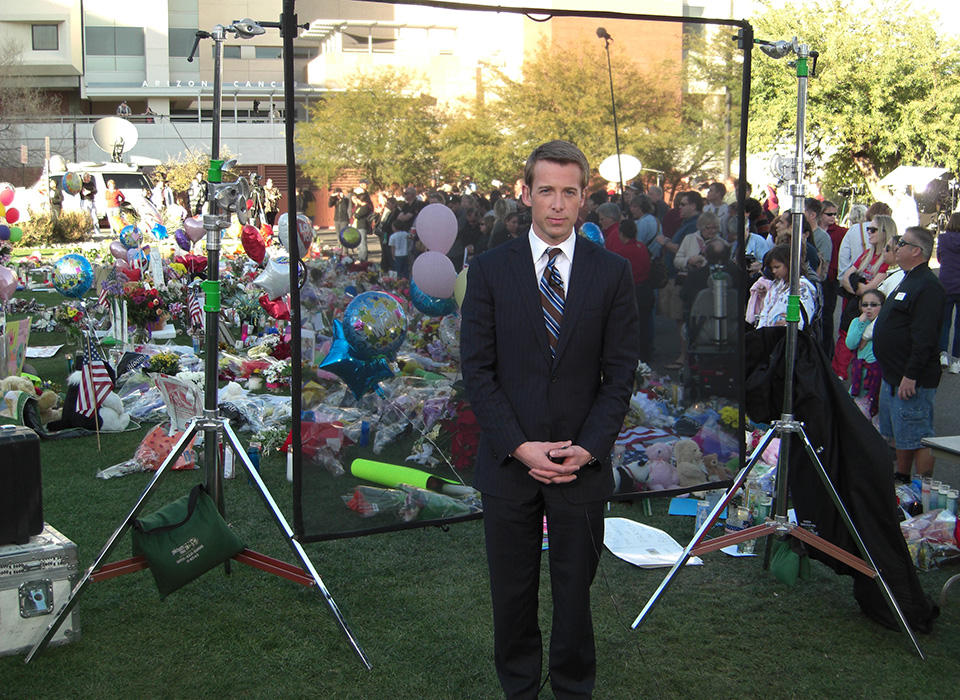
Image from fjwestcott.com
The advantage of the Scrim Jim is that it’s modular, very portable, and there are a lot of diffusion materials to choose from, including a double net fabric that you can place behind a subject, to cut the brightness of the background, making it easier to defeat the sun and light your subject with your LED fresnel.
More than anything, the Scrim Jim is the ultimate solution for portable lighting if you’re shooting your interviews outdoors. Where a reflector/diffuser disc can easily catch the wind, the Scrim Jim, mounted properly with two C-stands or heavy duty light stands, can withstand most outdoor conditions without requiring an assistant to hold the diffuser.
Pro Studio Solutions Scrim Diffuser Kit
If a Westcott Scrim Jim is out of your price range, there are more affordable, but lower quality collapsible frames you can buy for a diffusion kit. One popular product is (get ready for a long name): the Pro Studio Solutions Collapsible Sun Scrim, Diffuse & Silver/White Reflector Kit w/ Boom Handle, Bag. Is it necessary to include all your search keywords in the product name? Hah.
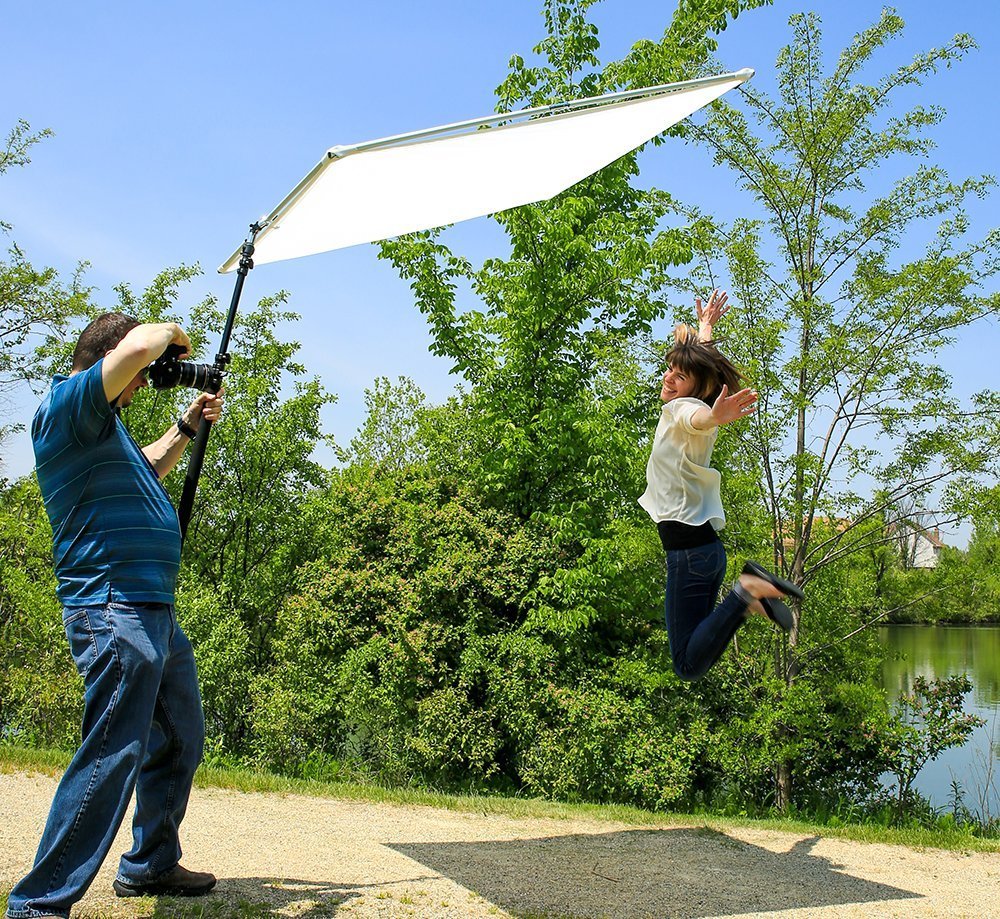
Anyway, we’ve heard reports that it’s a decent solution for Aputure COB 120D and 120T users. It also comes with a boom pole to handhold the scrim, which is a nice bonus. Among the several sizes available, you could get a 4.5’x4x5’ or a 4.5’x6.5’ frame for under $200, including the diffusion/reflection sheet.
DIY scrim
The no-budget indie filmmaker approach to gear is still a great option if you want to diffuse your COB light but don’t want to spend much money. There are lots of ways to hang a bed sheet or shower curtain as a shoot-through diffuser, or use a poster board or styrofoam block as a reflector.
PVC pipes and connectors have been used for decades as cheap DIY scrims and reflector frames, and you can get all your material at your local Home Depot. There are lots of plans available online, but often the simplest and cheapest option is the most do-able. Here’s one that costs $50. You’ll still need to figure out a way to hold it up, but if you don’t want to use heavy C-stands, and if you’re shooting solo, you can probably get away with resting it against a couple chairs.
Matthews road rags
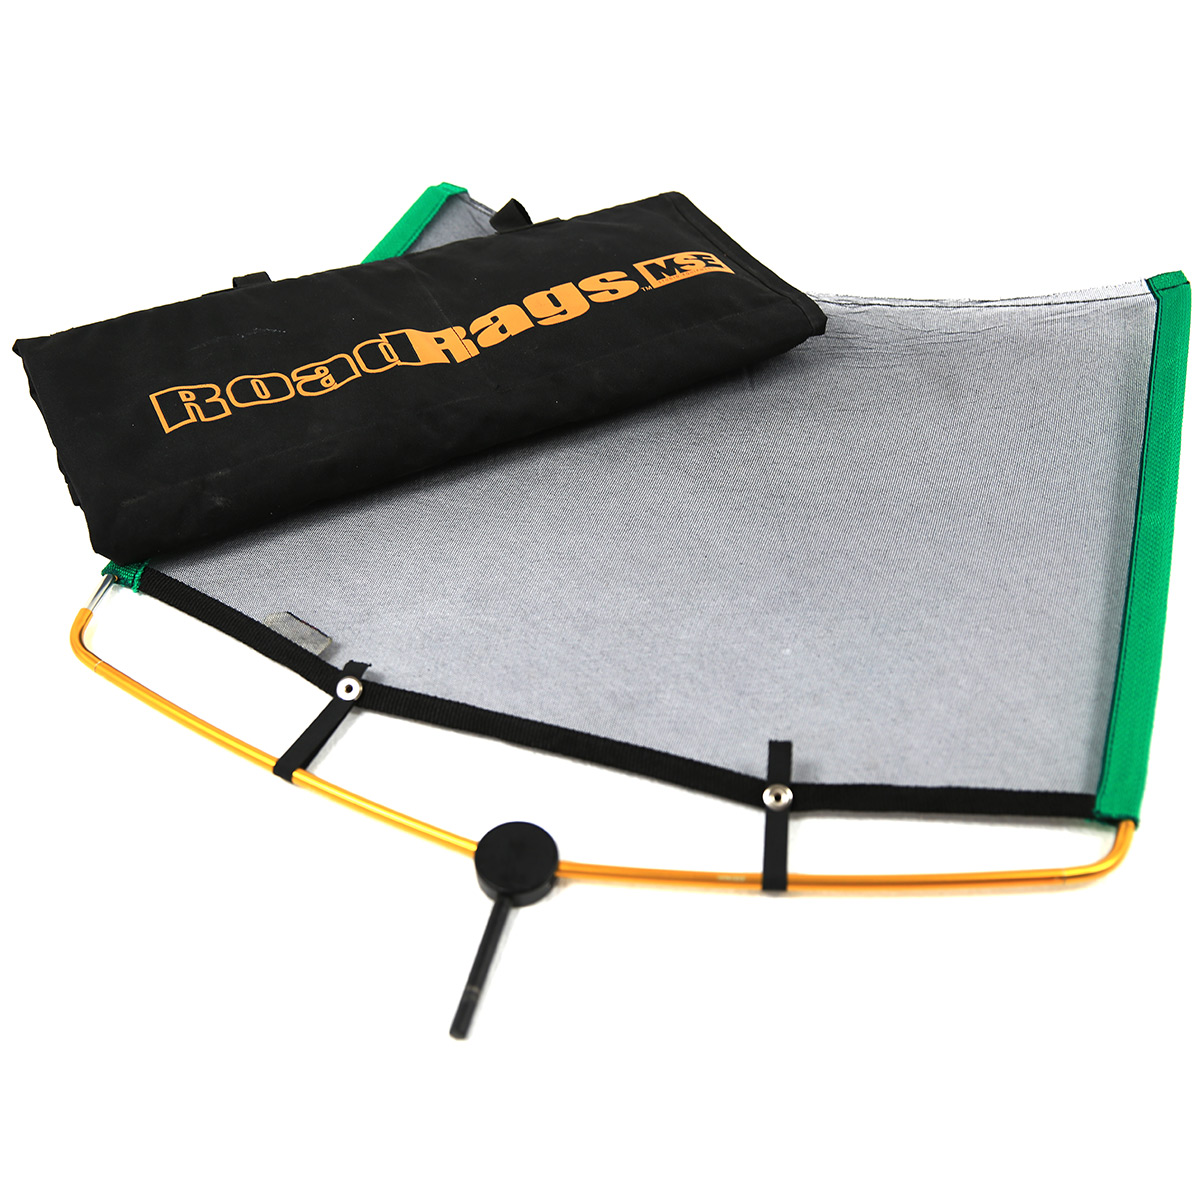
If portability is the ultimate goal for you, pairing the Aputure COB 120D with a Matthews Road Rags II kit is a powerful combination. Essentially, the Road Rags frame is made from lightweight, flexible, but durable tent poles.
The frame expands by simply flicking your wrist, rather than having to join each piece together one by one. The kit comes with a few fabrics such as a flag, single and double scrim, and silk for diffusion.
While the Matthews Road Rags II system is convenient, it’s a little pricey at over $400 for the 24x36” kit, which isn’t a huge source of light. But nothing beats convenience, speed, and usability when it comes to documentary shoots, where anything that slows you down takes away from your ability to shoot a good story.
Aputure Light Dome
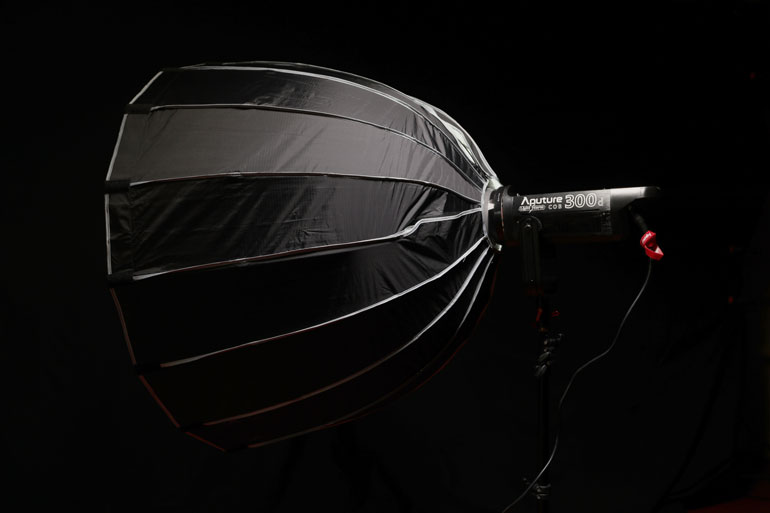
One of the most obvious diffusion choices to pair with the Light Storm COB 120 is the Aputure Light Dome, a parabolic style softbox. It’s like a giant soft box that’s made specifically for the Aputure COB lights. Based on the reviews out there, the Light Dome produces an incredibly soft light, ideal for interviews.
But the Light Dome is big in person, and it takes a bit of work to setup. Its face is 35” but it’s about 25” deep. It’s better suited to slower paced commercial shoots and studio work, than fast paced documentary interview setups or shoots in small locations.
Our first impression is that any diffuser will have to be at least two feet from your Light Storm COB light, and it will take up even more space than a light dome if it requires a stand of its own, so the size of the light dome doesn’t seem at all restrictive. But with its internal double diffusion, a lot of the light output is diminished.
Videography Gear Recommendations
We interrupt this article for to briefly shill our two most popular and informative articles on gear, and the two kits that we are constantly changing and evolving.
Documentary Filmmaking - We've traveled hundreds of thousands of air miles on many shoots, to bring you our list of our recommended documentary filmmaking equipment.
Promo Videos - Check out our complete corporate video production guide, including not only gear but how to approach new clients, choose your niche, and how to price yourself.
Business of Videography - our video production services infographic helps you decipher what kind of video your client wants, but doesn't know how to say it.
Aputure light storm led fresnel vs panel light
How do you choose whether a panel light like the Aputure Light Storm LS1S or LS1C is the right light for your video productions, or if you should go with a LED Fresnel like the Aputure COB 120D? If all you are looking for is light output for the money, both of these lights have roughly the same light output if compared at the same beam angle.
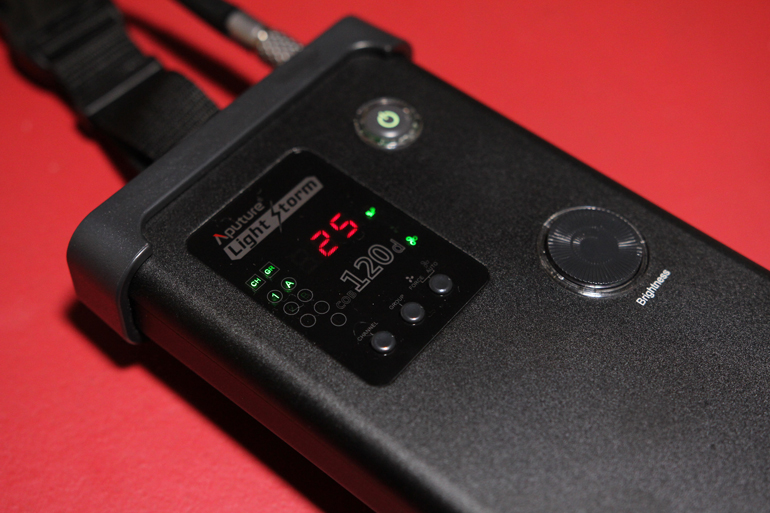
The COB 120D unmodified has a beam angle of 120 degrees, whereas the LS1S has a 25 degree beam angle, so measured at 1 meter the LS1S would win in the brightness category by a large margin. However, if you place the fresnel adapter on the COB120D and set it to 25 degrees, the brightness becomes almost identical to the LS1S.
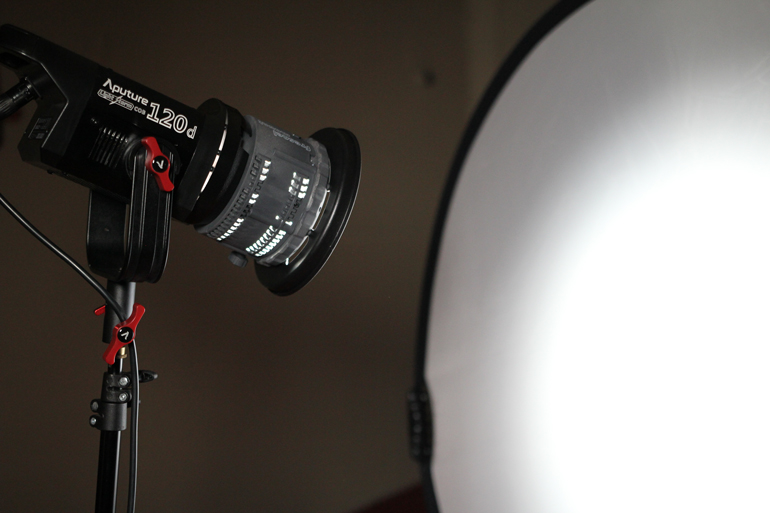
But where the COB120D shines is that it’s incredibly versatile, much more than a simple panel light. With the Fresnel lens attachment, you can change the beam angle from 14-42 degrees. And with the Bowens-S mount, you can attach a lot of existing light modifiers to the COB120D, from soft boxes to octagons to beauty discs to silk diffusers.
If you happen to already have the LS1S or LS1C, adding a COB 120D is a no brainer because it gives you more options when you approach your productions. Maybe one of them can serve as the key light and the other can bounce off the ceiling for a nice fill. The only issue you may run into is with the COB120D’s color temperature, which is 6000k compared to the LS1S 5500K, but that’s not a huge difference in kelvin.
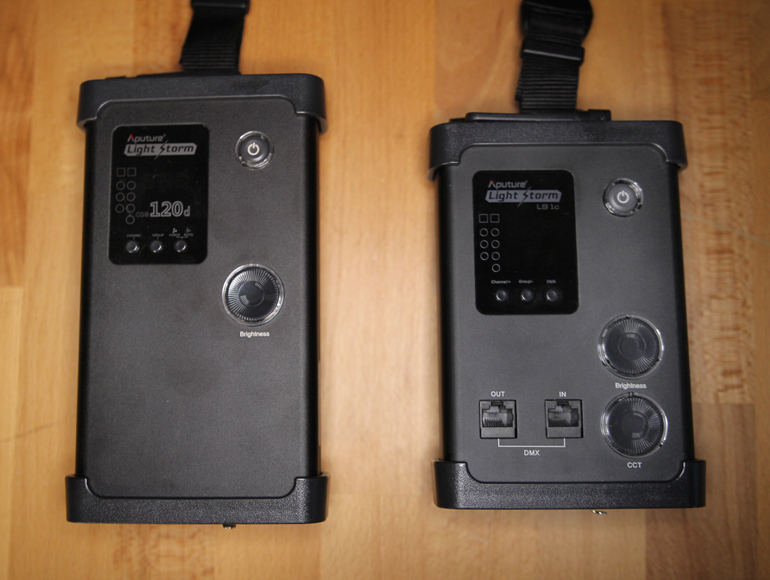
One thing to note is that even though the COB 120 and Light Storm panel lights come with similar control units, they’re not swappable. The COB lights use slightly higher voltage to power them, which we happened to find out when we attempted to use our V-lock to Sony NP adapter on the COB 120D (it blew a fuse).
However, the Aputure remote control can be used on any of Aputure’s lights, which makes working with the Light Storms, COB lights, and the Amarans on one set a breeze. You can adjust the color temperature, and dim the light intensity, or simply power on/off hard to reach lights, while standing behind the camera and watching the frame.
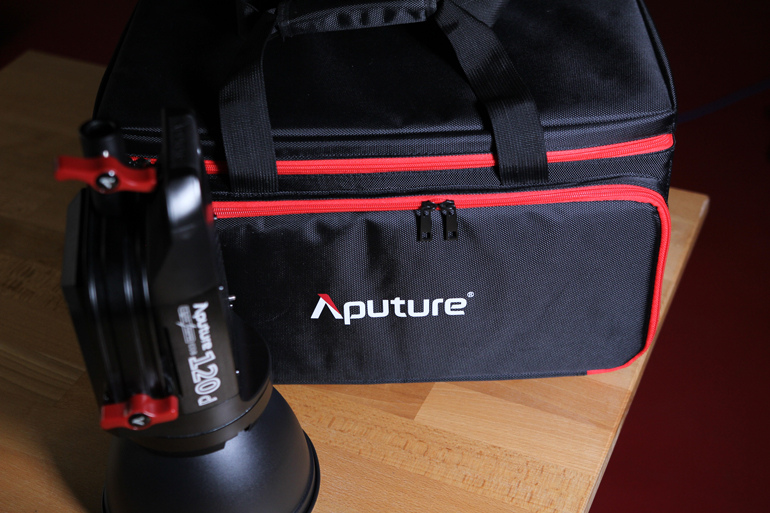
Another thing to consider with COB 120 light is it’s quite a bit lighter than the LS1S or LS1C panel light. But, its shape makes it more difficult to pack down for travel in luggage. The COB 120 light does come with a really nice carrying case, and we were able to adjust the padding to make room for the fresnel attachment.
Aputure Fresnel
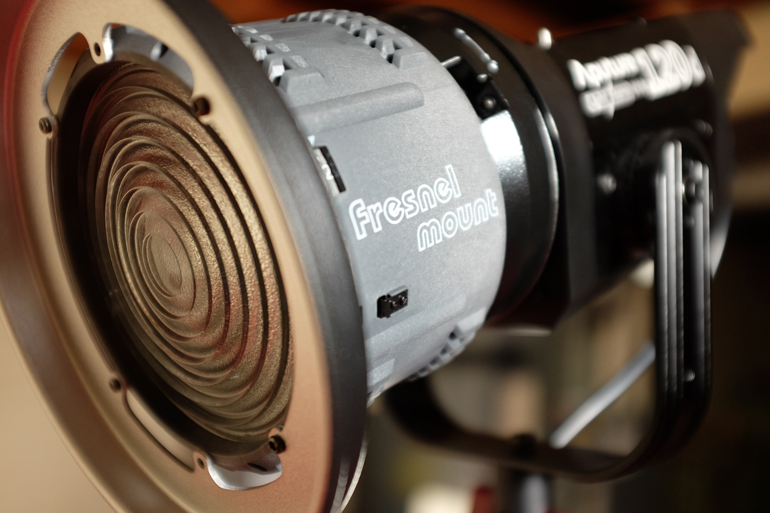
Finally, we should probably say a few words about the Aputure Fresnel Lens attachment. First, it’s under $100, so it’s a no brainer if you’re thinking of getting either a COB 120D or 120T. The body is made of fiberglass, and the fresnel glass is actually made of plastic. That makes the unit very lightweight, and yet durable enough that it won’t shatter if dropped.
Being able to control the beam angle from 12-42 degrees gives the COB 120 a lot of versatility. You can point a narrow beam at a bounce board close to your subject, creating a very bright, soft source of light with minimal spill. Or you can point the naked COB light up at the ceiling, for a very wide fill light.
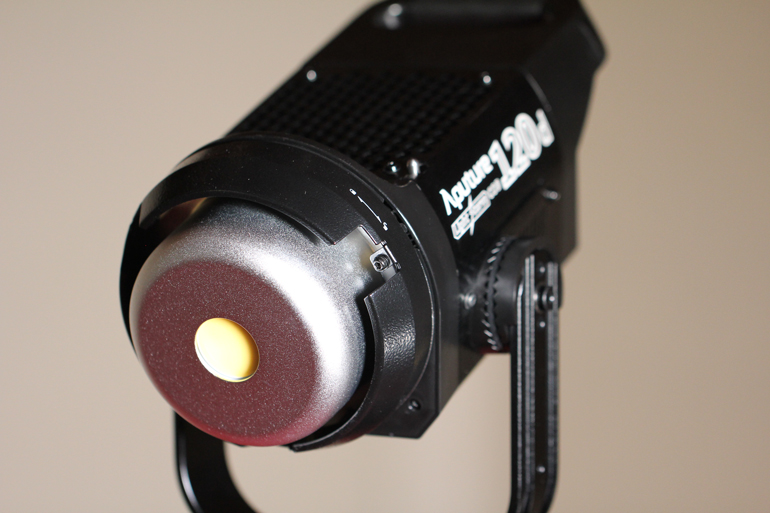
Aputure ships the Light Storm COB 120D and COB 120T in a very nice travel bag, which has movable dividers inside. You can arrange the dividers in such a way that will allow the Fresnel Adapter to fit inside the bag as well. Overall we really like this light and look forward to using it in many situations. If you have experience with a LED Fresnel and want to share with our readers, send us an email! Thanks and happy shooting.
buy direct from the aputure store
Aputure Light Storm COB 120
- CRI and TLCI rating of 97+
- COB 120D is daylight rated at 6000K, COB 120T is tungsten rated at 3000K.
- Ultra silent fan, stays cool, is very lightweight and easy to use handheld or on a regular light stand.
- Features an umbrella slot built-in for easy diffusion.
- Uses a standard Bowens-S mount compatible with many lighting modifiers.
- Includes a custom carrying case that can fit everything including the Fresnel attachment.
Aputure fresnel lens mount
- Built specifically for the Aputure COB lights, but can be used with any Bowens-S compatible light.
- Enables the COB 120 beam angle to adjust from 12 to 42 degrees, and magnifies the light intensity.
- Lightweight fiberglass shell is durable and stays cool to the touch.
- Also available in a kit with the COB 120 daylight or tungsten light.
